> ## Documentation Index
> Fetch the complete documentation index at: https://docs.qxlabs.com/llms.txt
> Use this file to discover all available pages before exploring further.
# Connect via MCP
> Query your QX knowledge vaults from Claude, Cursor, Microsoft Copilot, and other AI apps over MCP, with citations back to your files.
export const platform = {
home: "https://platform.qxlabs.com",
chat: "https://platform.qxlabs.com/chat",
agents: "https://platform.qxlabs.com/agents",
agentSchedules: "https://platform.qxlabs.com/agents/schedules",
flows: "https://platform.qxlabs.com/flows",
flowExecutions: "https://platform.qxlabs.com/flows/executions",
grids: "https://platform.qxlabs.com/grids",
pages: "https://platform.qxlabs.com/pages",
knowledge: "https://platform.qxlabs.com/knowledge",
connectedApps: "https://platform.qxlabs.com/credentials",
settingsChannels: "https://platform.qxlabs.com/settings/channels",
settingsAuthorizedApps: "https://platform.qxlabs.com/settings/authorized-apps",
usage: "https://platform.qxlabs.com/usage",
billing: "https://platform.qxlabs.com/billing",
team: "https://platform.qxlabs.com/account/team",
explore: "https://platform.qxlabs.com/explore",
exploreSkills: "https://platform.qxlabs.com/explore/skills"
};
Query your knowledge vaults from Claude, Cursor, Microsoft Copilot, and other AI apps using MCP (Model Context Protocol), an open standard that lets AI tools plug into external data sources. Once connected, an app can search your vaults and pull in passages, tables, and images, with citations back to the original files.
Every app connects with the same server URL:
```
https://platform.qxlabs.com/api/mcp/knowledge
```
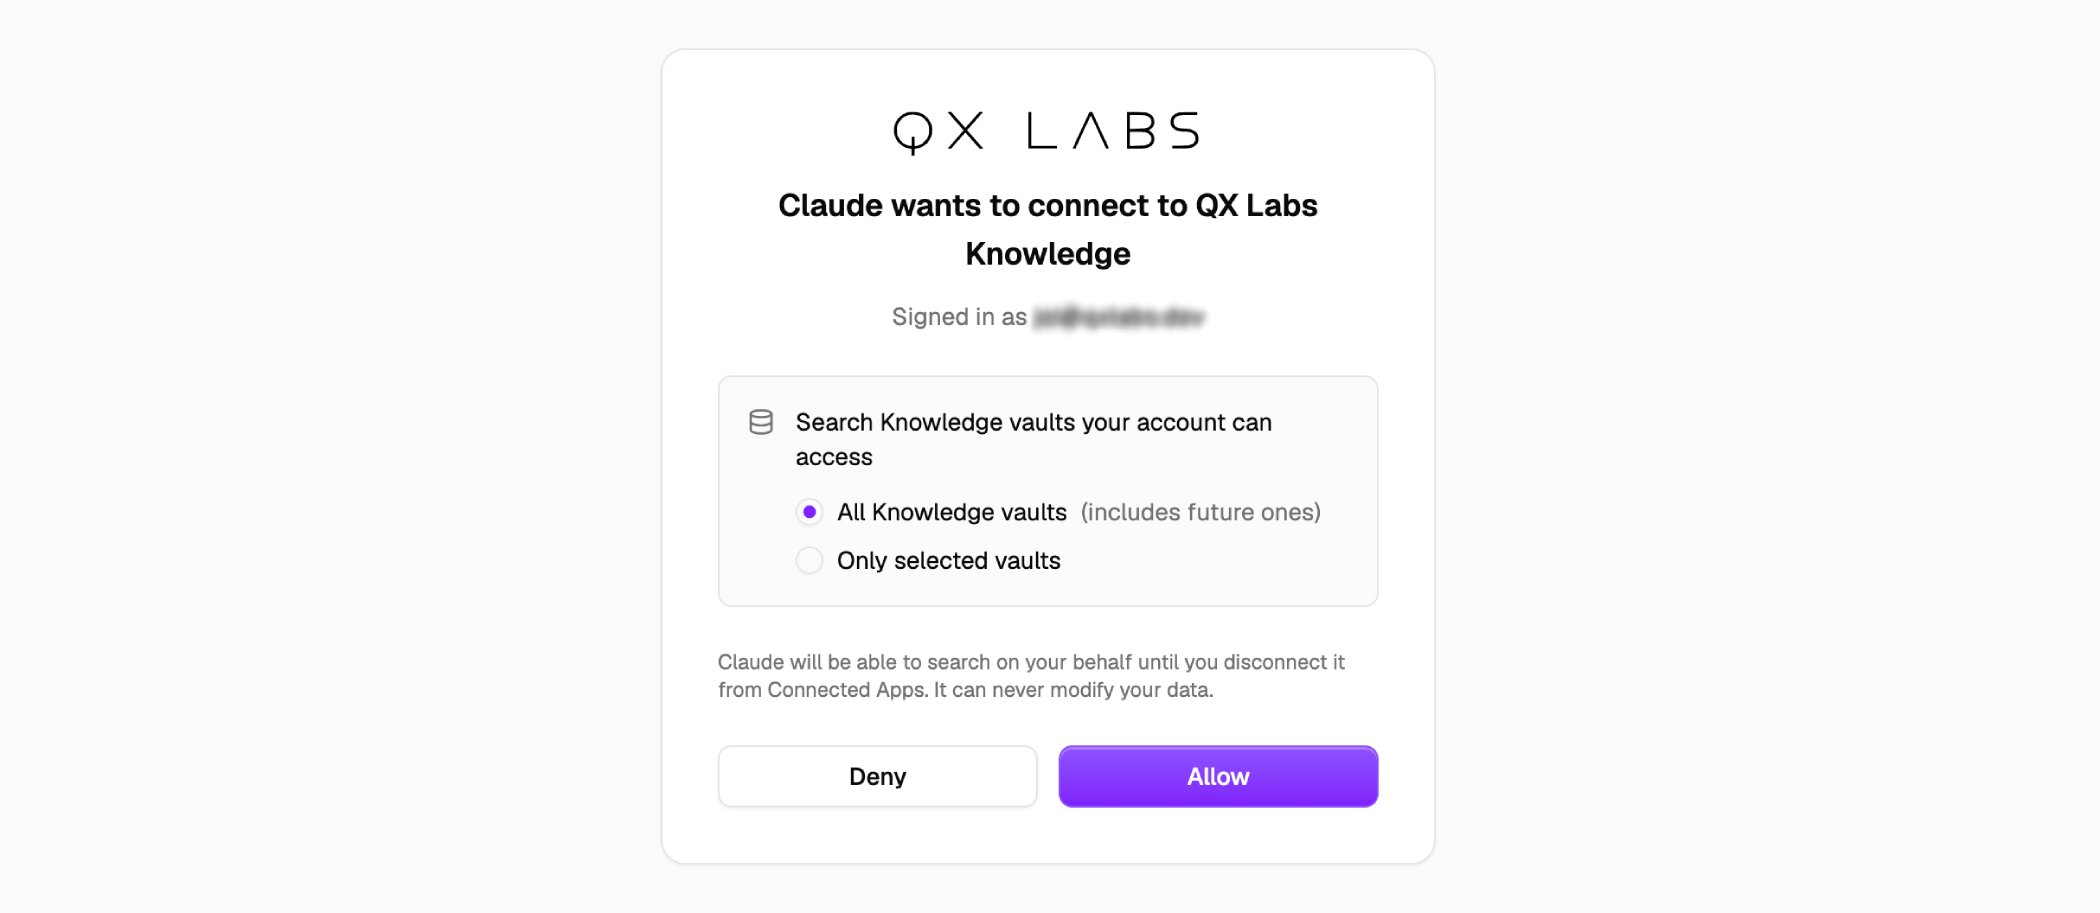
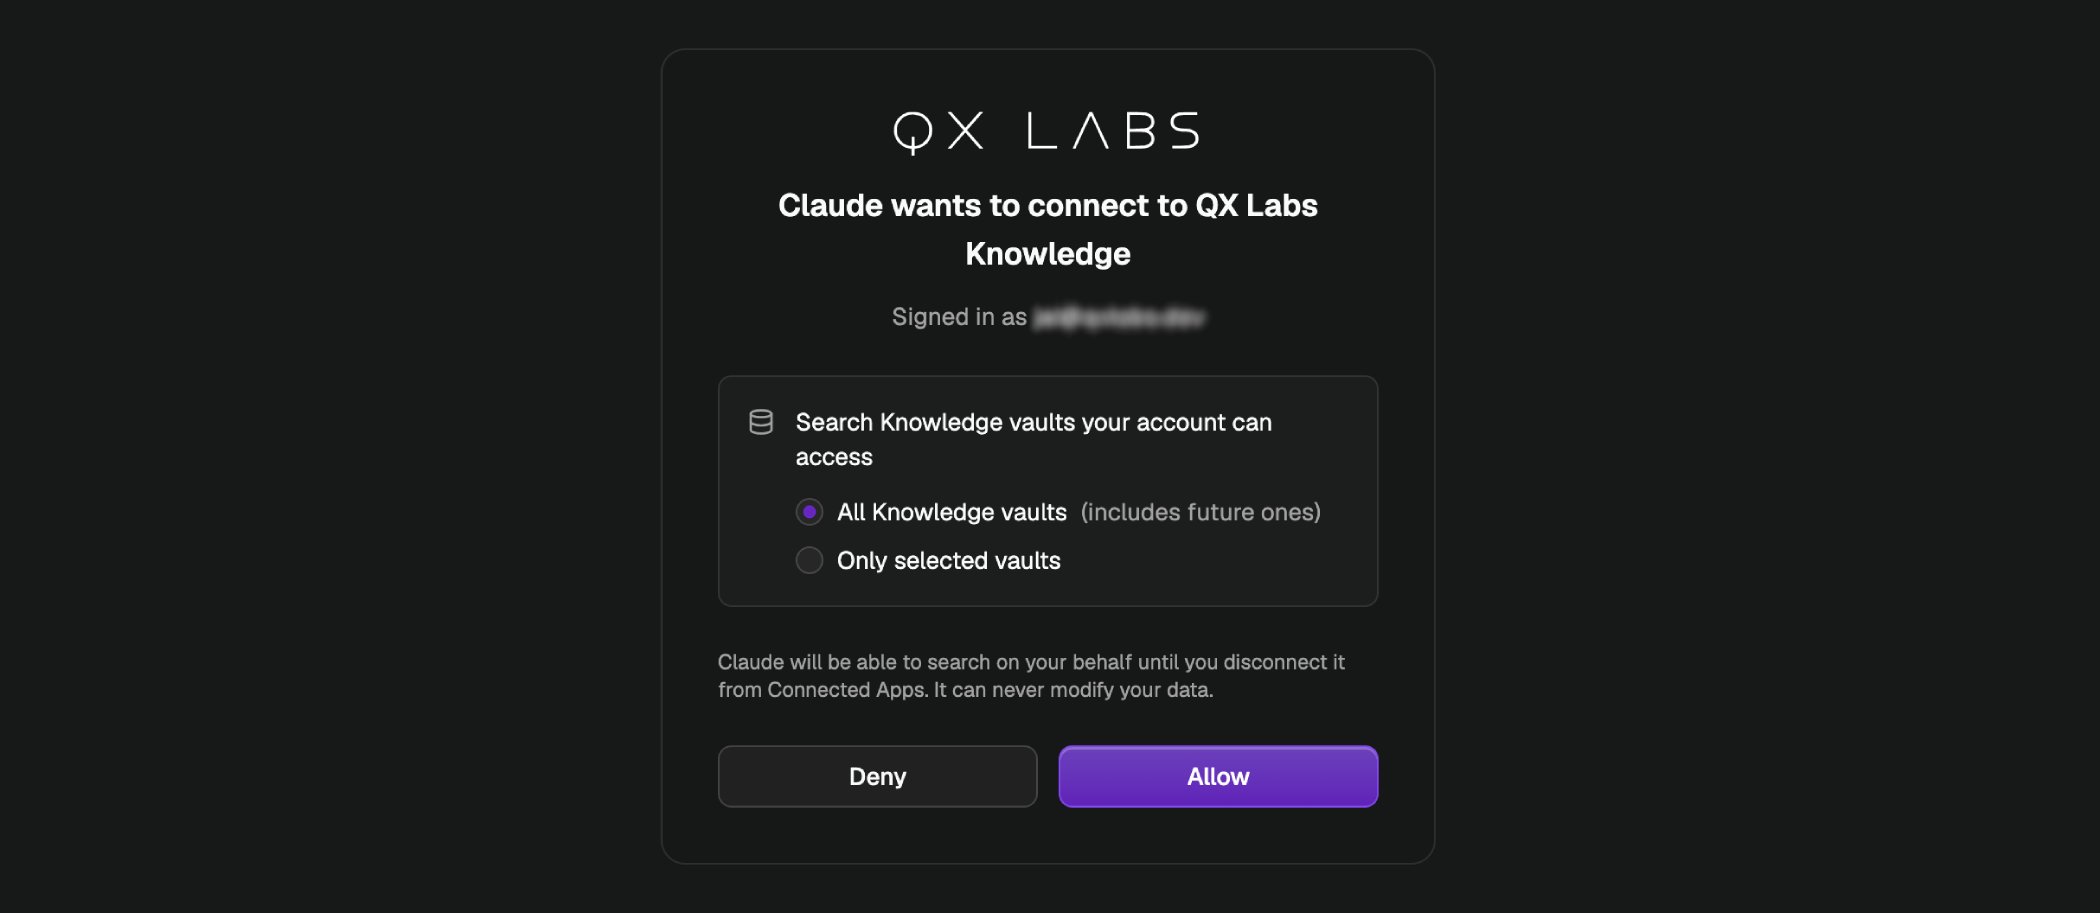
There is no API key to manage. The first time an app connects, it opens a QX consent screen in your browser where you sign in and choose which vaults to share.
 ## Claude
Custom connectors are available on paid Claude plans, in both the web and desktop apps.
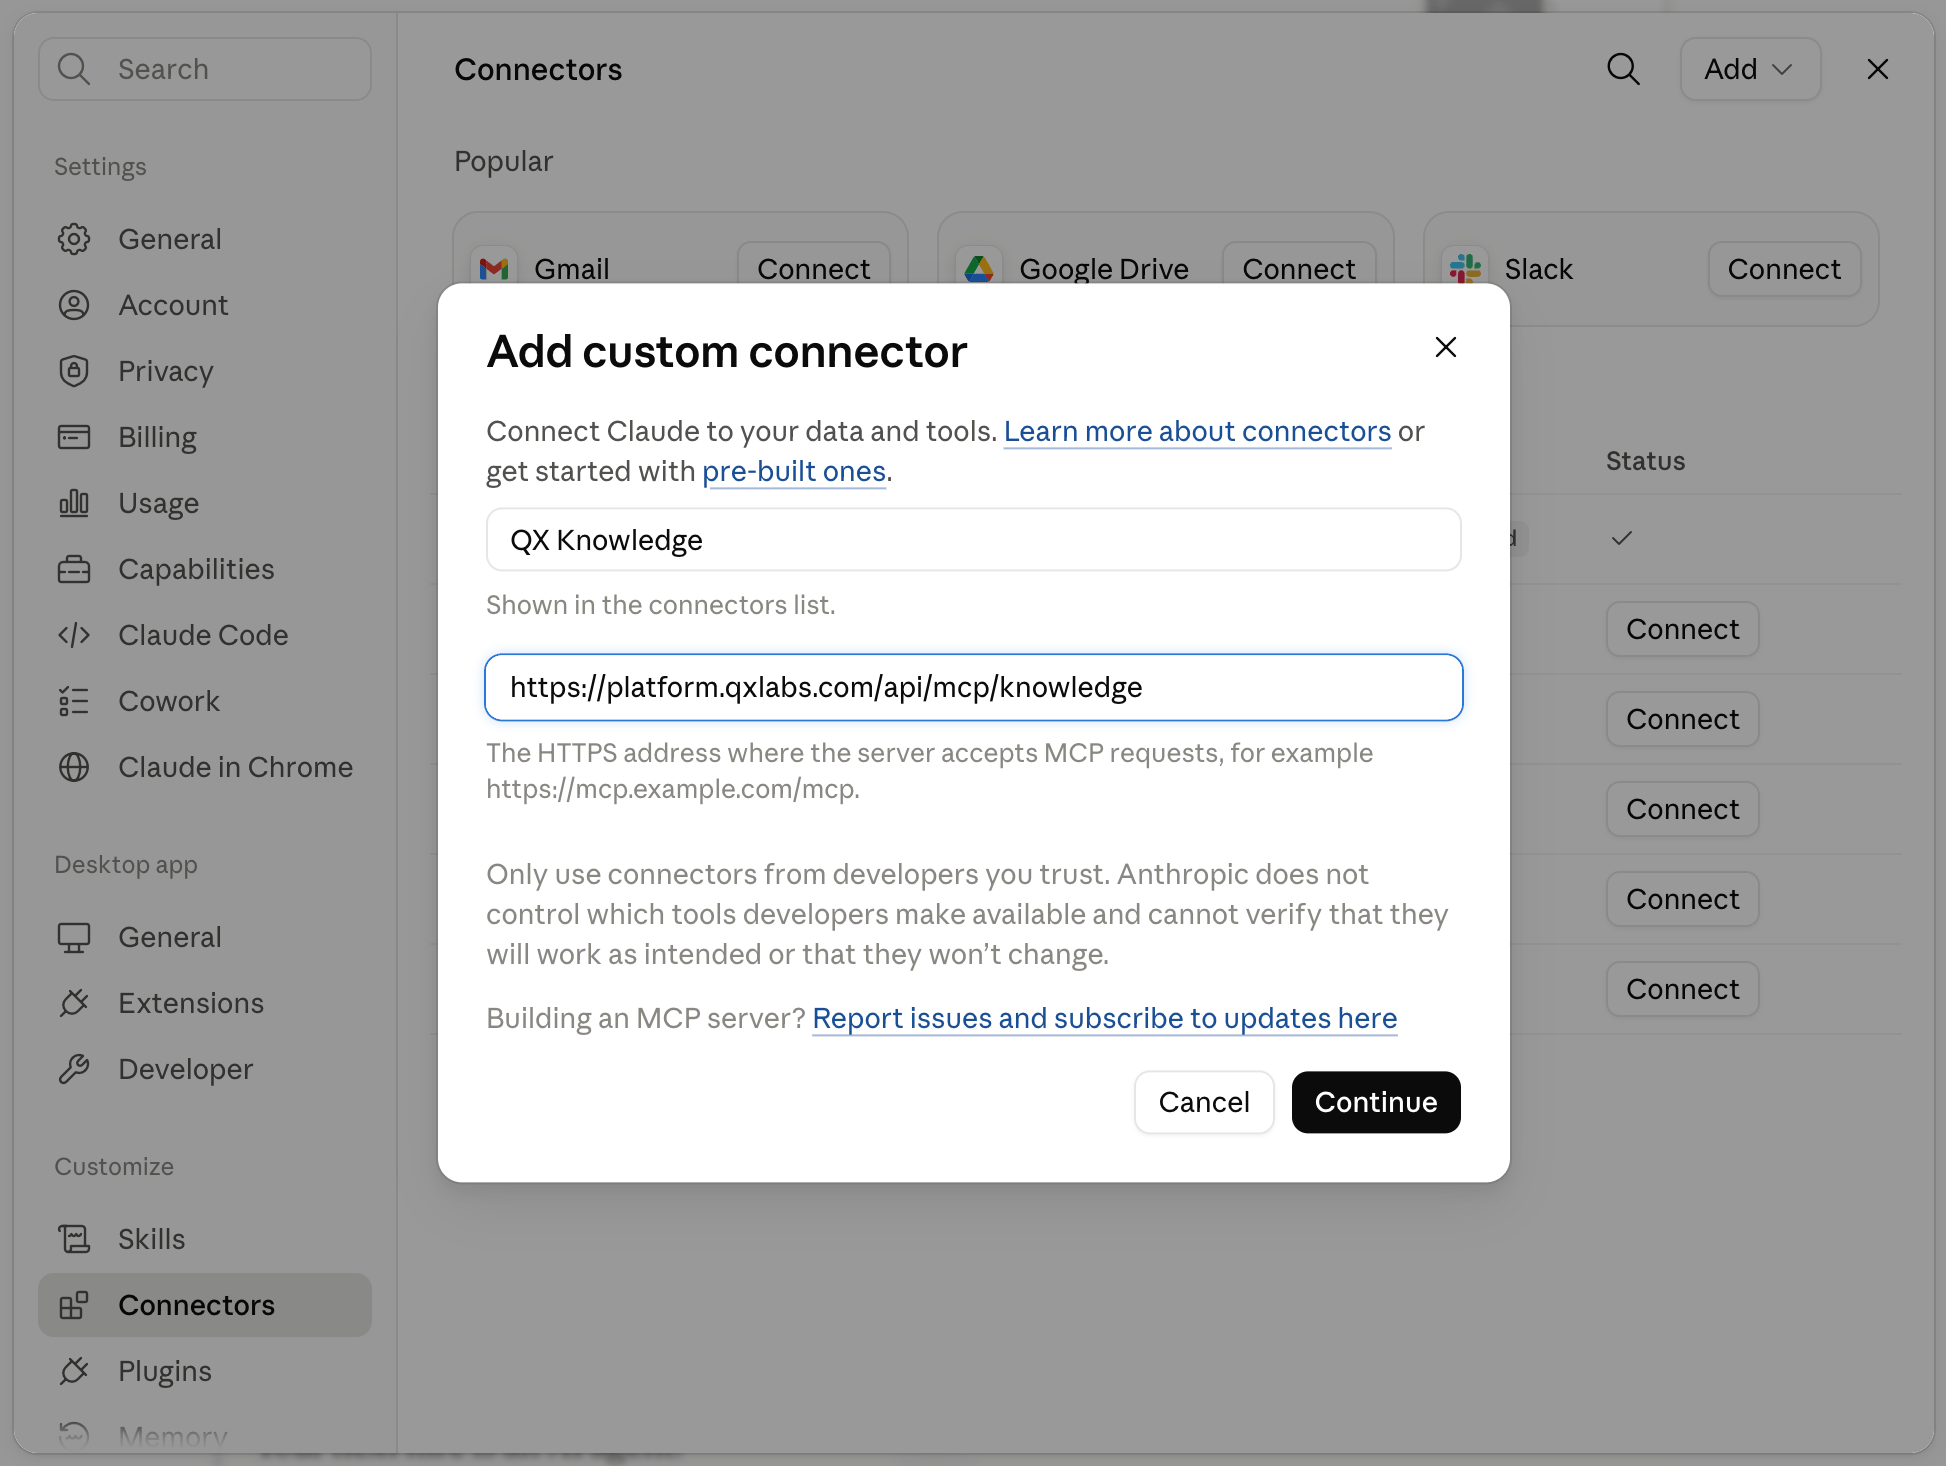
In Claude, open **Settings**, then **Connectors**, and click **Add custom connector**. Paste the server URL above.
Click **Connect**. Claude opens the QX consent screen in your browser.
Sign in, pick the vaults to share, and approve. Claude can now search your knowledge in any chat.
## Claude
Custom connectors are available on paid Claude plans, in both the web and desktop apps.
In Claude, open **Settings**, then **Connectors**, and click **Add custom connector**. Paste the server URL above.
Click **Connect**. Claude opens the QX consent screen in your browser.
Sign in, pick the vaults to share, and approve. Claude can now search your knowledge in any chat.
 ## Claude Code
Add the server from your terminal:
```bash theme={null}
claude mcp add --transport http qx-knowledge https://platform.qxlabs.com/api/mcp/knowledge
```
Then run `/mcp` inside Claude Code, select **qx-knowledge**, and follow the sign-in prompt.
## Cursor
The quickest route is the **Add to Cursor** button in QX, found on the **Knowledge** page under **Connect to Claude**. To add it manually instead, open Cursor's settings, go to **MCP**, and add a new server with:
```json theme={null}
{
"mcpServers": {
"qx-knowledge": {
"url": "https://platform.qxlabs.com/api/mcp/knowledge"
}
}
}
```
Cursor prompts you to sign in the first time the server is used.
## Microsoft Copilot
Microsoft 365 Copilot reaches your vaults through an agent built in [Copilot Studio](https://copilotstudio.microsoft.com), so the setup is done by whoever builds the agent, usually a maker or admin. Once the agent is published, anyone using it in Microsoft 365 Copilot can search the shared vaults.
In Copilot Studio, open your agent's **Tools** page, click **Add a tool**, then **New tool**, and choose **Model Context Protocol**.
Enter a server name and description, and paste the server URL above. The description helps the agent decide when to search your knowledge.
Under authentication, choose **OAuth 2.0** with the **Dynamic discovery** type, then click **Create**. QX supports dynamic discovery, so no client IDs or secrets are needed.
Create a new connection when prompted, sign in to QX and choose your vaults, then click **Add to agent**.
Copilot Studio routes MCP connections through Power Platform connectors, so if your organization uses Power Platform data policies, those policies also apply to this connection.
## Other apps
Any MCP client that supports remote servers can connect. Add a new MCP server, choose the HTTP transport (sometimes called "streamable HTTP"), and paste the server URL. Leave any API key or token fields empty, the sign-in happens in your browser automatically.
## Choosing which vaults to share
The consent screen offers two levels of access:
* **All vaults**, which lets the app search every vault you have access to, including vaults created or shared with you later.
* **Selected vaults**, which limits the app to the vaults you tick. New vaults are not added automatically.
To change an app's access later, disconnect it and connect again with a new selection.
## Managing connections
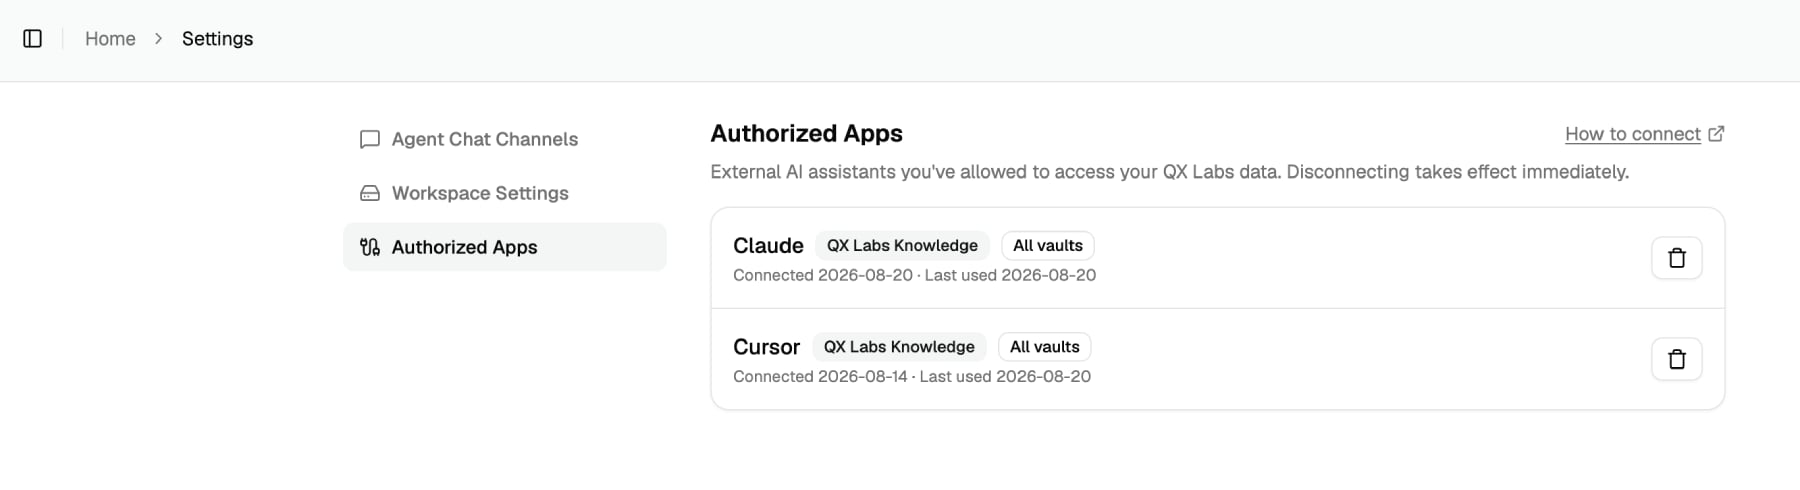
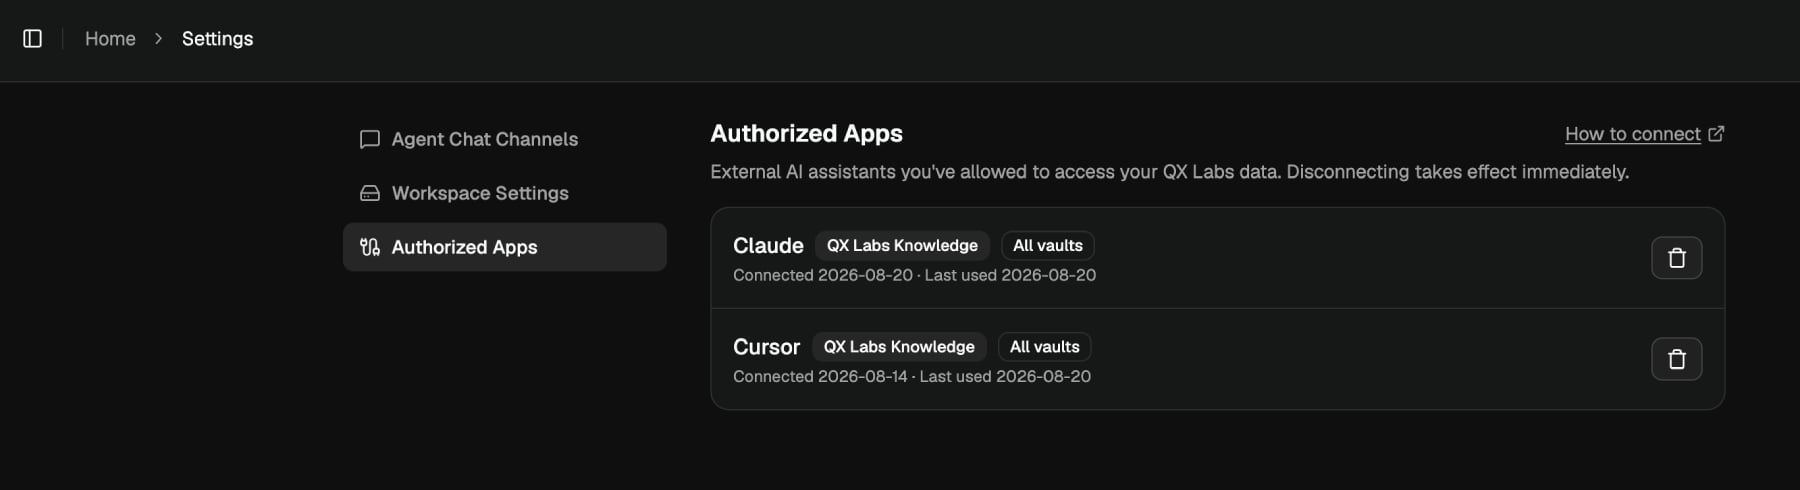
Every app you authorize appears in QX under **Settings → Authorized Apps**, along with its access level and when it was last used. Disconnecting takes effect immediately.
## Claude Code
Add the server from your terminal:
```bash theme={null}
claude mcp add --transport http qx-knowledge https://platform.qxlabs.com/api/mcp/knowledge
```
Then run `/mcp` inside Claude Code, select **qx-knowledge**, and follow the sign-in prompt.
## Cursor
The quickest route is the **Add to Cursor** button in QX, found on the **Knowledge** page under **Connect to Claude**. To add it manually instead, open Cursor's settings, go to **MCP**, and add a new server with:
```json theme={null}
{
"mcpServers": {
"qx-knowledge": {
"url": "https://platform.qxlabs.com/api/mcp/knowledge"
}
}
}
```
Cursor prompts you to sign in the first time the server is used.
## Microsoft Copilot
Microsoft 365 Copilot reaches your vaults through an agent built in [Copilot Studio](https://copilotstudio.microsoft.com), so the setup is done by whoever builds the agent, usually a maker or admin. Once the agent is published, anyone using it in Microsoft 365 Copilot can search the shared vaults.
In Copilot Studio, open your agent's **Tools** page, click **Add a tool**, then **New tool**, and choose **Model Context Protocol**.
Enter a server name and description, and paste the server URL above. The description helps the agent decide when to search your knowledge.
Under authentication, choose **OAuth 2.0** with the **Dynamic discovery** type, then click **Create**. QX supports dynamic discovery, so no client IDs or secrets are needed.
Create a new connection when prompted, sign in to QX and choose your vaults, then click **Add to agent**.
Copilot Studio routes MCP connections through Power Platform connectors, so if your organization uses Power Platform data policies, those policies also apply to this connection.
## Other apps
Any MCP client that supports remote servers can connect. Add a new MCP server, choose the HTTP transport (sometimes called "streamable HTTP"), and paste the server URL. Leave any API key or token fields empty, the sign-in happens in your browser automatically.
## Choosing which vaults to share
The consent screen offers two levels of access:
* **All vaults**, which lets the app search every vault you have access to, including vaults created or shared with you later.
* **Selected vaults**, which limits the app to the vaults you tick. New vaults are not added automatically.
To change an app's access later, disconnect it and connect again with a new selection.
## Managing connections
Every app you authorize appears in QX under **Settings → Authorized Apps**, along with its access level and when it was last used. Disconnecting takes effect immediately.
 Knowledge searches made over MCP use your credits, the same as searches inside QX. Citation links for manually uploaded files open in QX, so you'll be asked to sign in if you aren't already.