Pick an agent
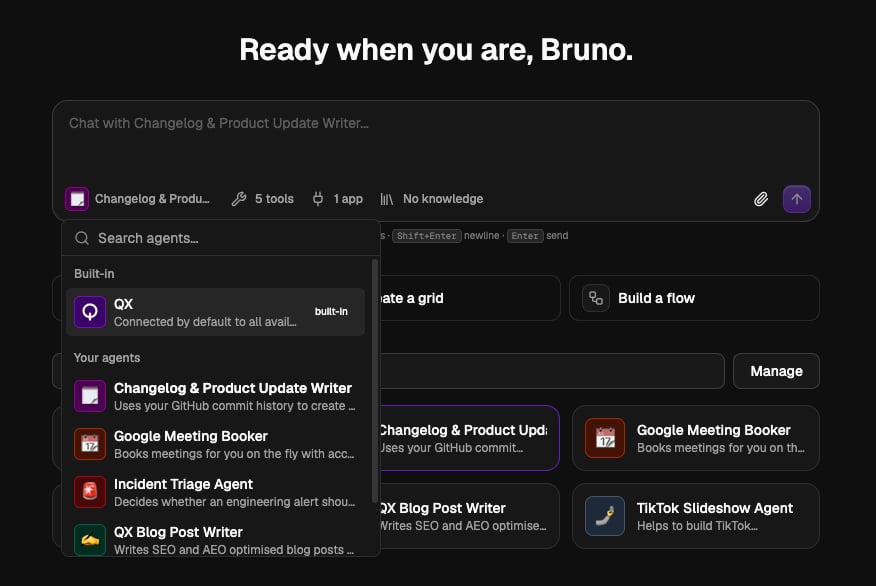
Every chat runs against an agent. New chats start with QX, the built-in default that’s connected to all available tools and knowledge, so you can begin right away. To use a different one, choose it from the agent grid on the home screen (search by name, or open the full list with Manage), or switch from inside the message box: click the agent’s name at the bottom, or type @ to search and choose. Your own agents and the built-in ones are listed separately. You can switch agents in the middle of a conversation, and the next reply comes from the agent you just picked while the history stays put.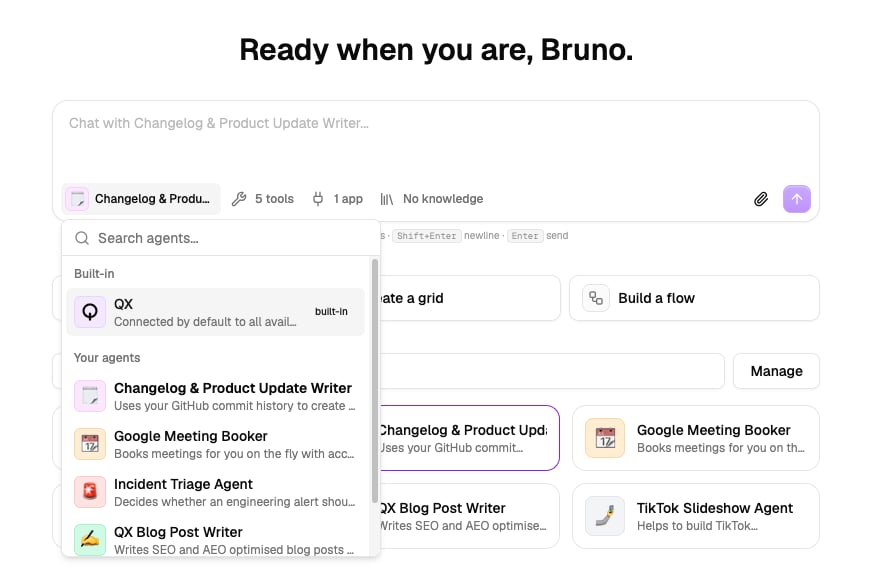
Set up the agent for this chat
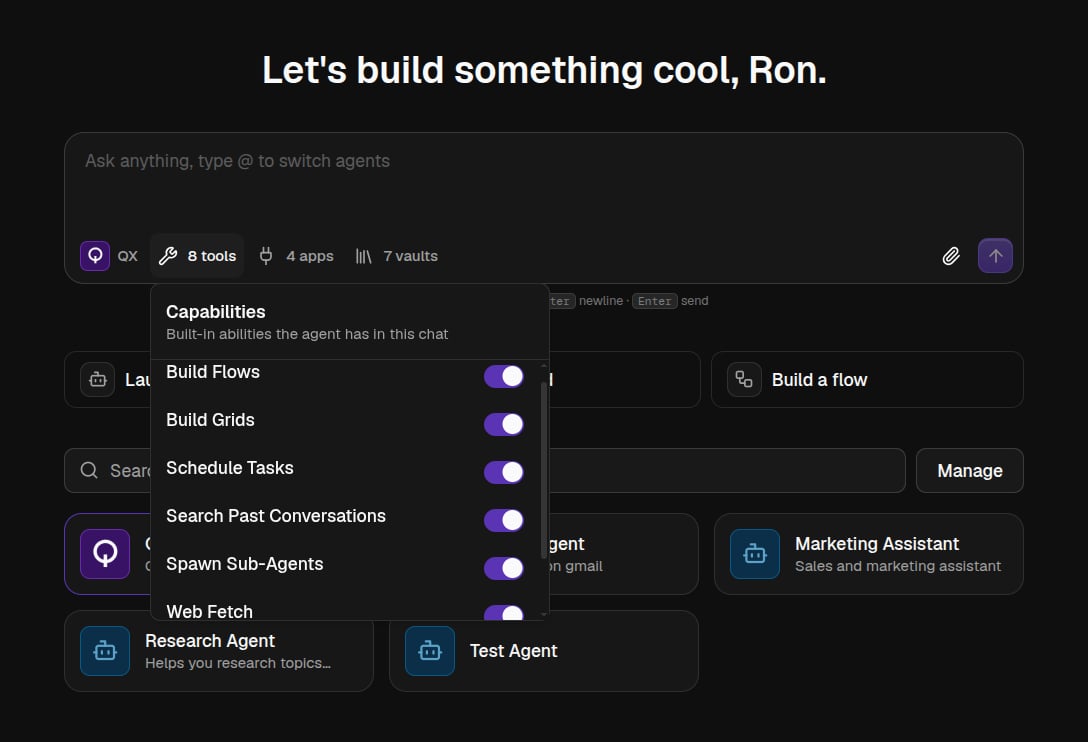
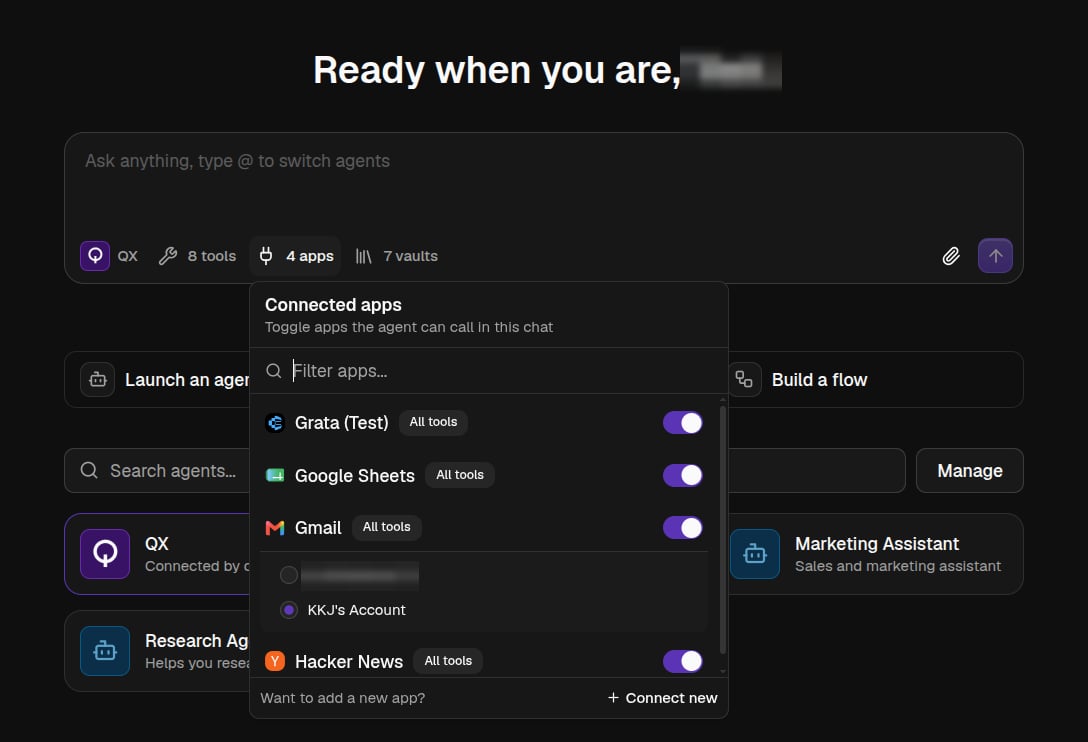
Three controls at the bottom of the message box tune what the agent can use, just for this conversation, without changing the saved agent. Each shows a count so you can see what’s active at a glance. This is per-conversation scoping, see Scopes and permissions for the full picture.Capabilities
Toggle the agent’s built-in abilities, such as web search or recalling past chats, on or off for this chat. See Capabilities.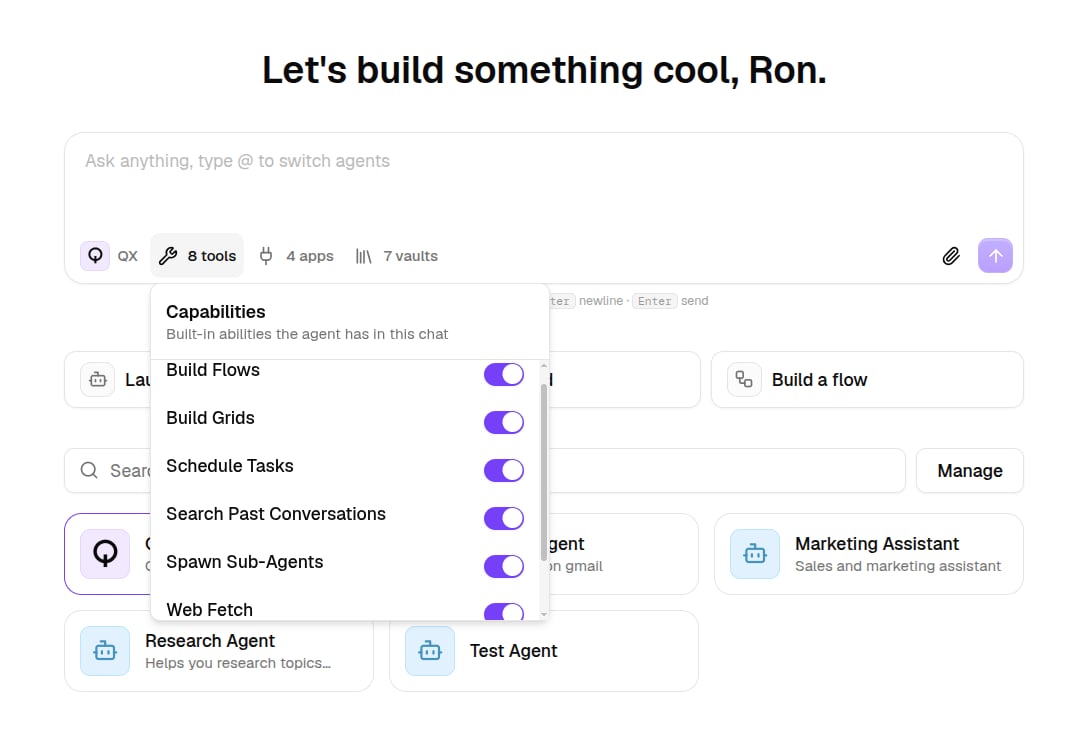
Connected apps
Toggle which of your connected apps the agent may call, filter to find one, and open Manage tools to choose exactly which of an app’s tools it can use. Haven’t connected anything yet? Use Connect new right here.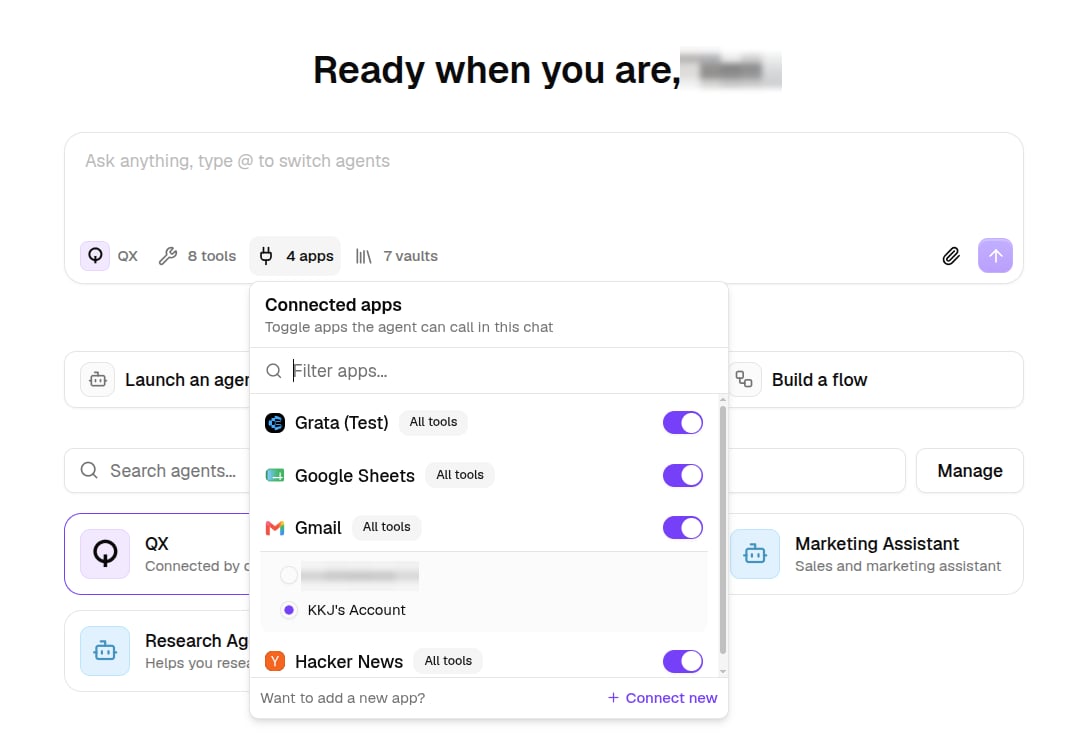
Knowledge
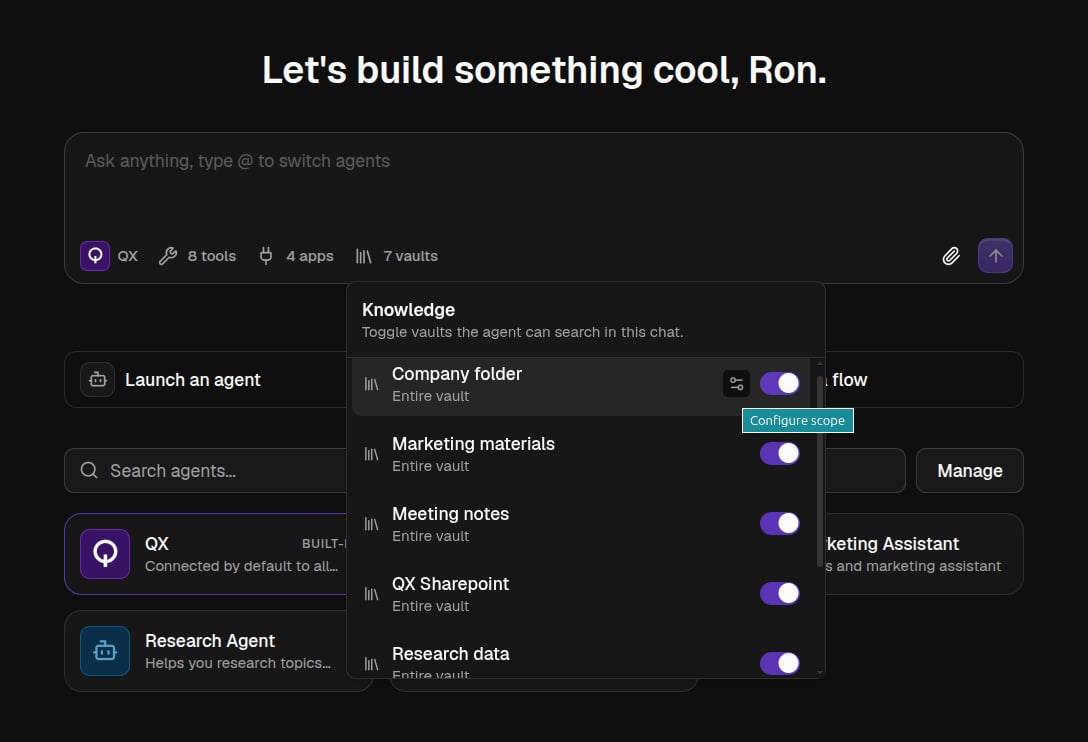
Toggle the knowledge vaults the agent can search, and use Configure scope to limit it to certain folders or files. If the agent has no vaults attached, add them from the agent editor.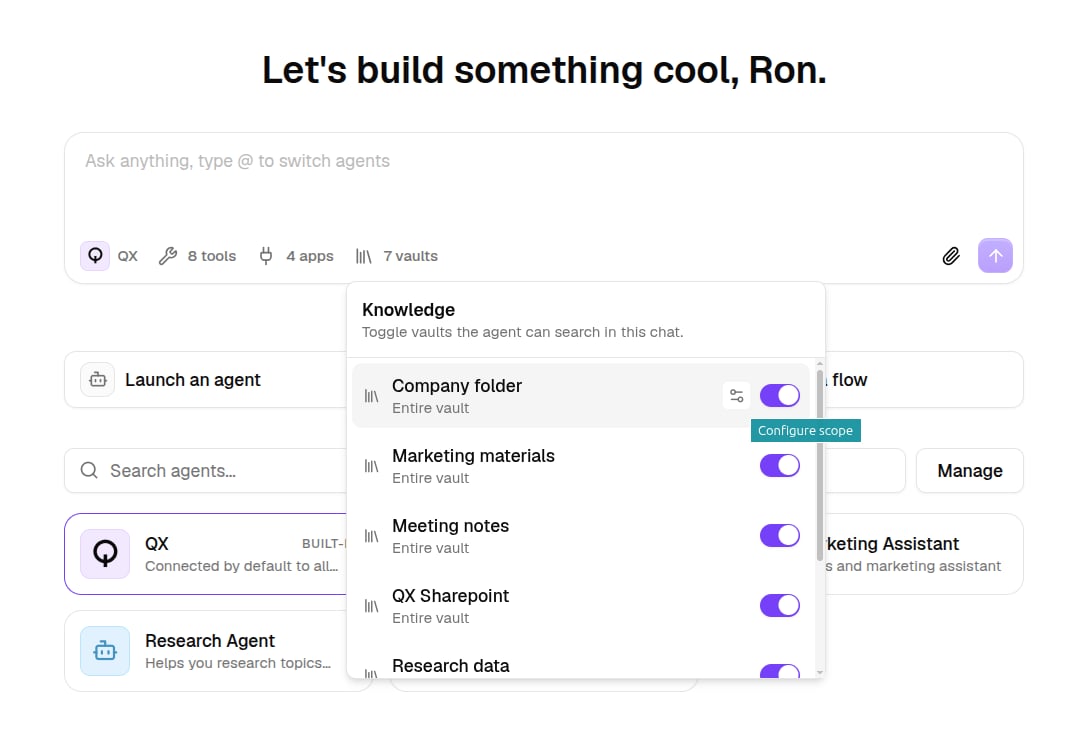
Attach files and write your prompt
Add files by dragging them onto the chat or pasting from your clipboard. You can attach images and common document and spreadsheet formats, and, for agents with Workspace Access, audio and video. The message box shows Ask anything, type @ to switch agents. Press Enter to send, or Shift+Enter for a new line.Run the agent
Send your message and the reply streams in. While it’s working, Stop generating halts the response. Anything you type meanwhile is queued and sent as one follow-up when the reply finishes, or choose Send now to fold it into the reply already in progress. Leaving the page mid-reply asks you to confirm, so you don’t lose it. Every answer has a Copy button to grab its text.Review the response
As the agent works, its steps appear as tool calls in the conversation, grouped into a collapsible activity area. Click any tool call to open a panel with its Status, Duration, and the Inputs and Output it used.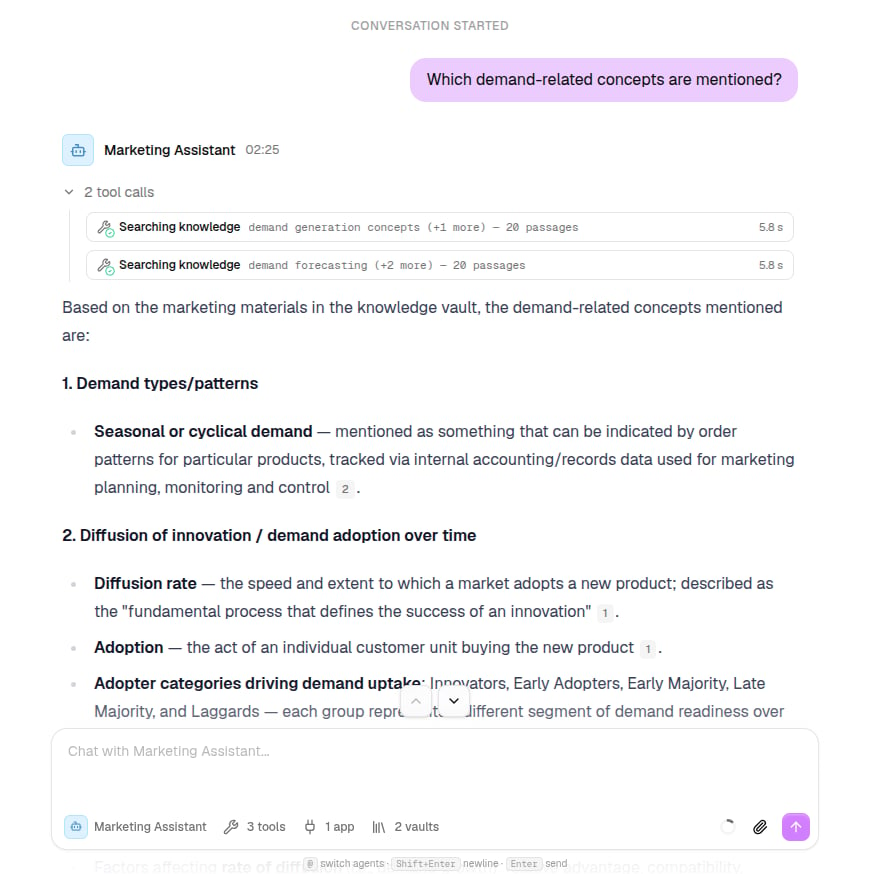
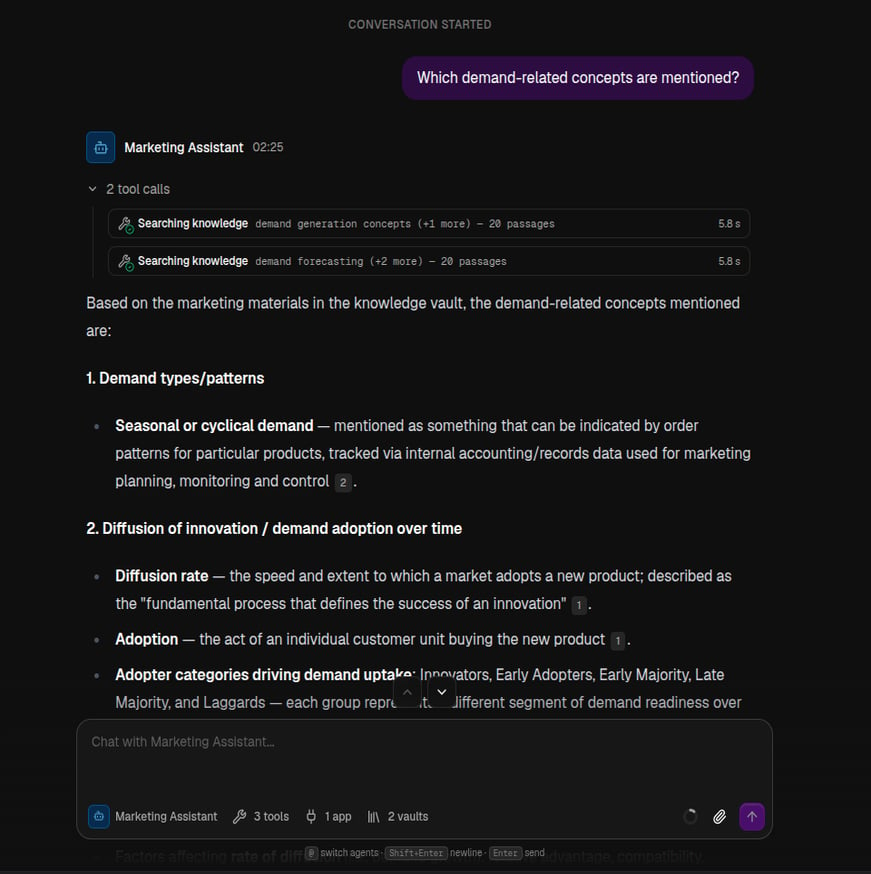
Tool calls in the response
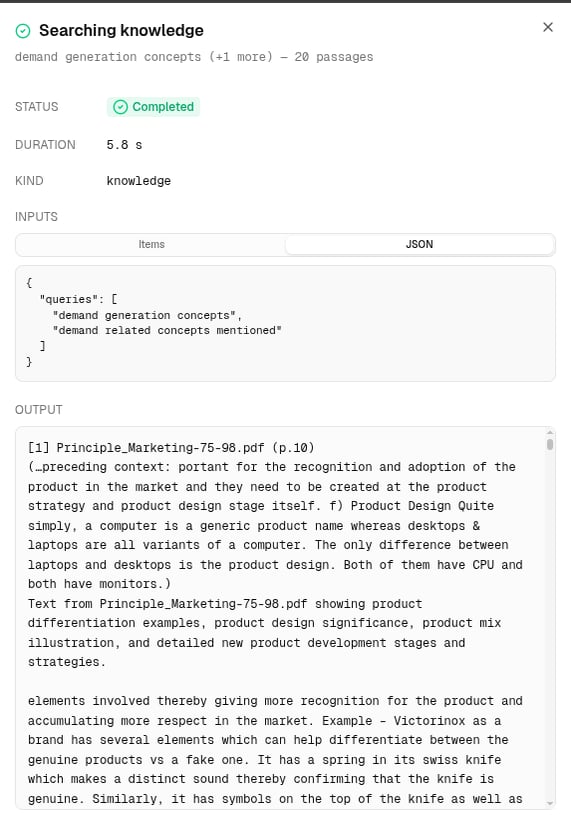
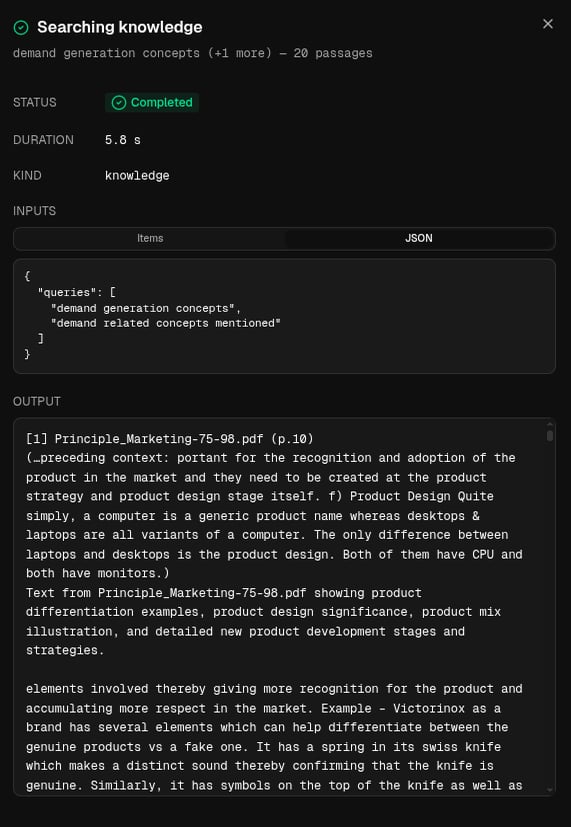
A tool call's details
The top of the chat shows a status dot for your organization’s workspace: green when it’s ready, amber while it’s being set up. Some abilities stay unavailable until it’s ready.
Manage your chats
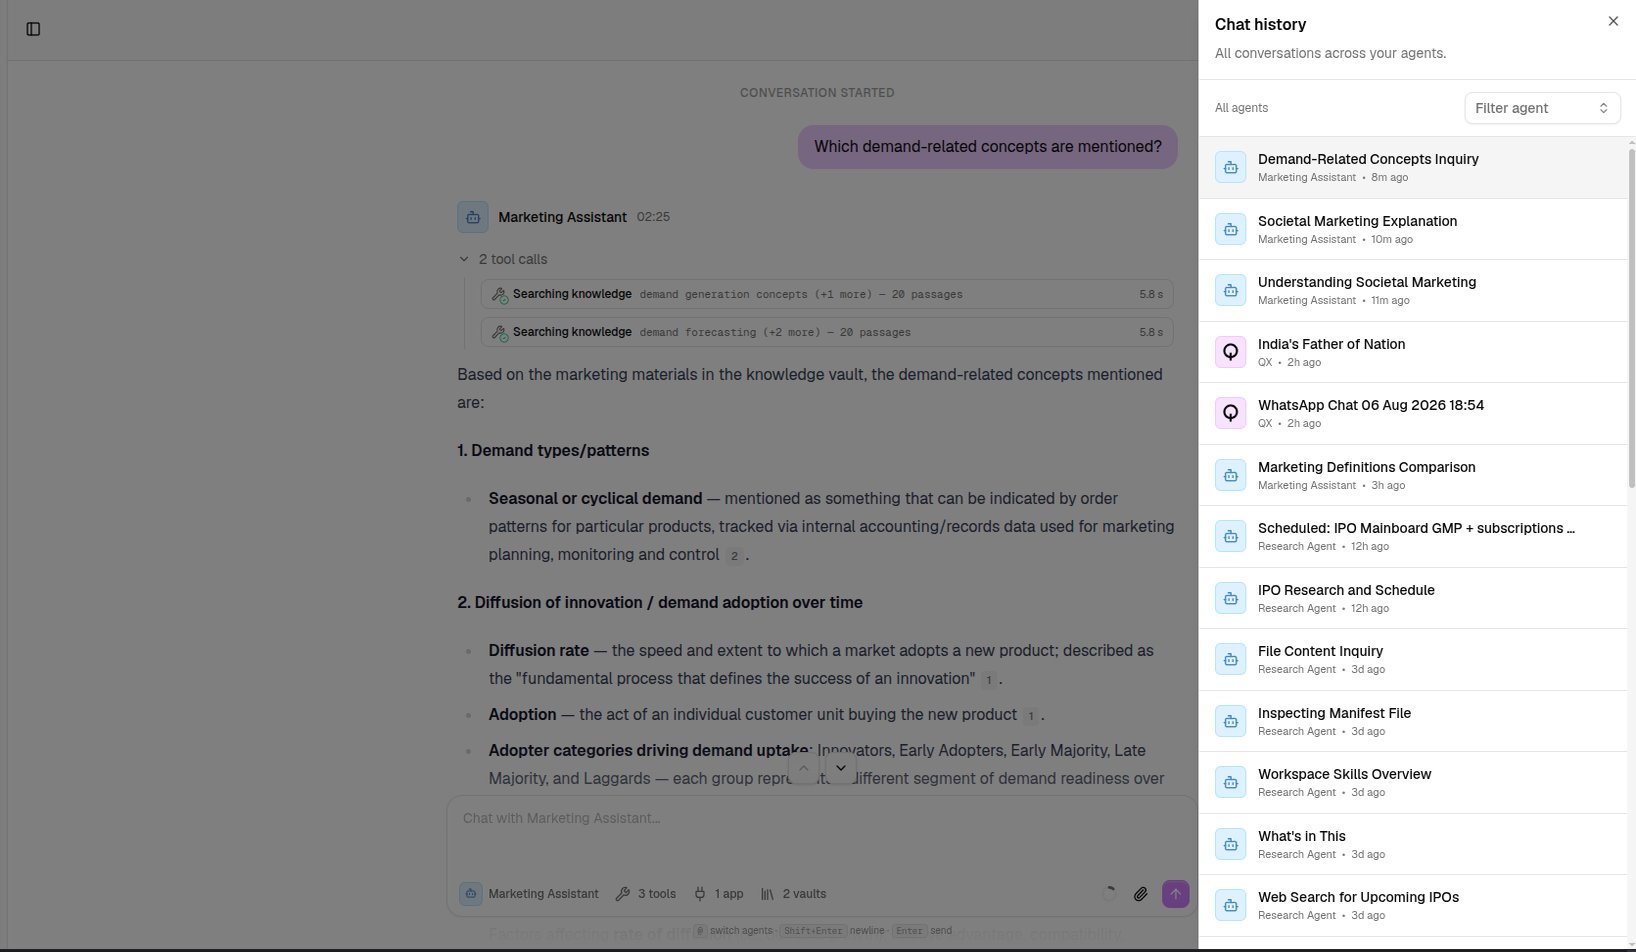
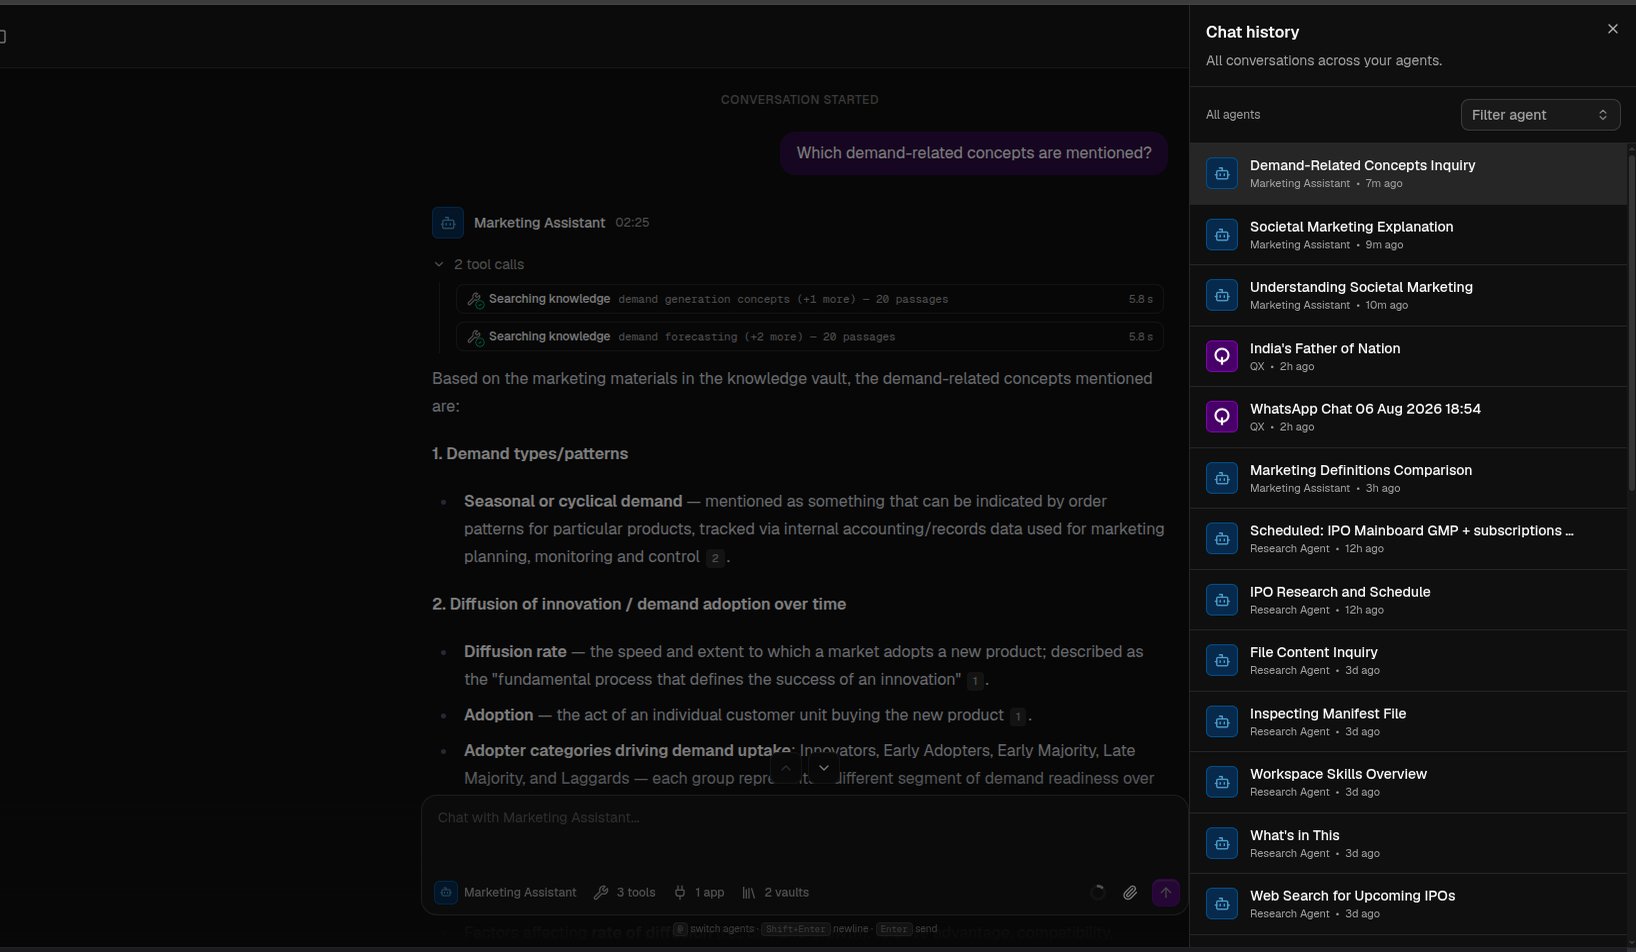
Open History at the top of any chat to see all your conversations, newest first. Filter by agent, then open one to pick up where you left off. To remove a conversation, hover it and choose Delete chat. Deleting is permanent.