

Create a vault
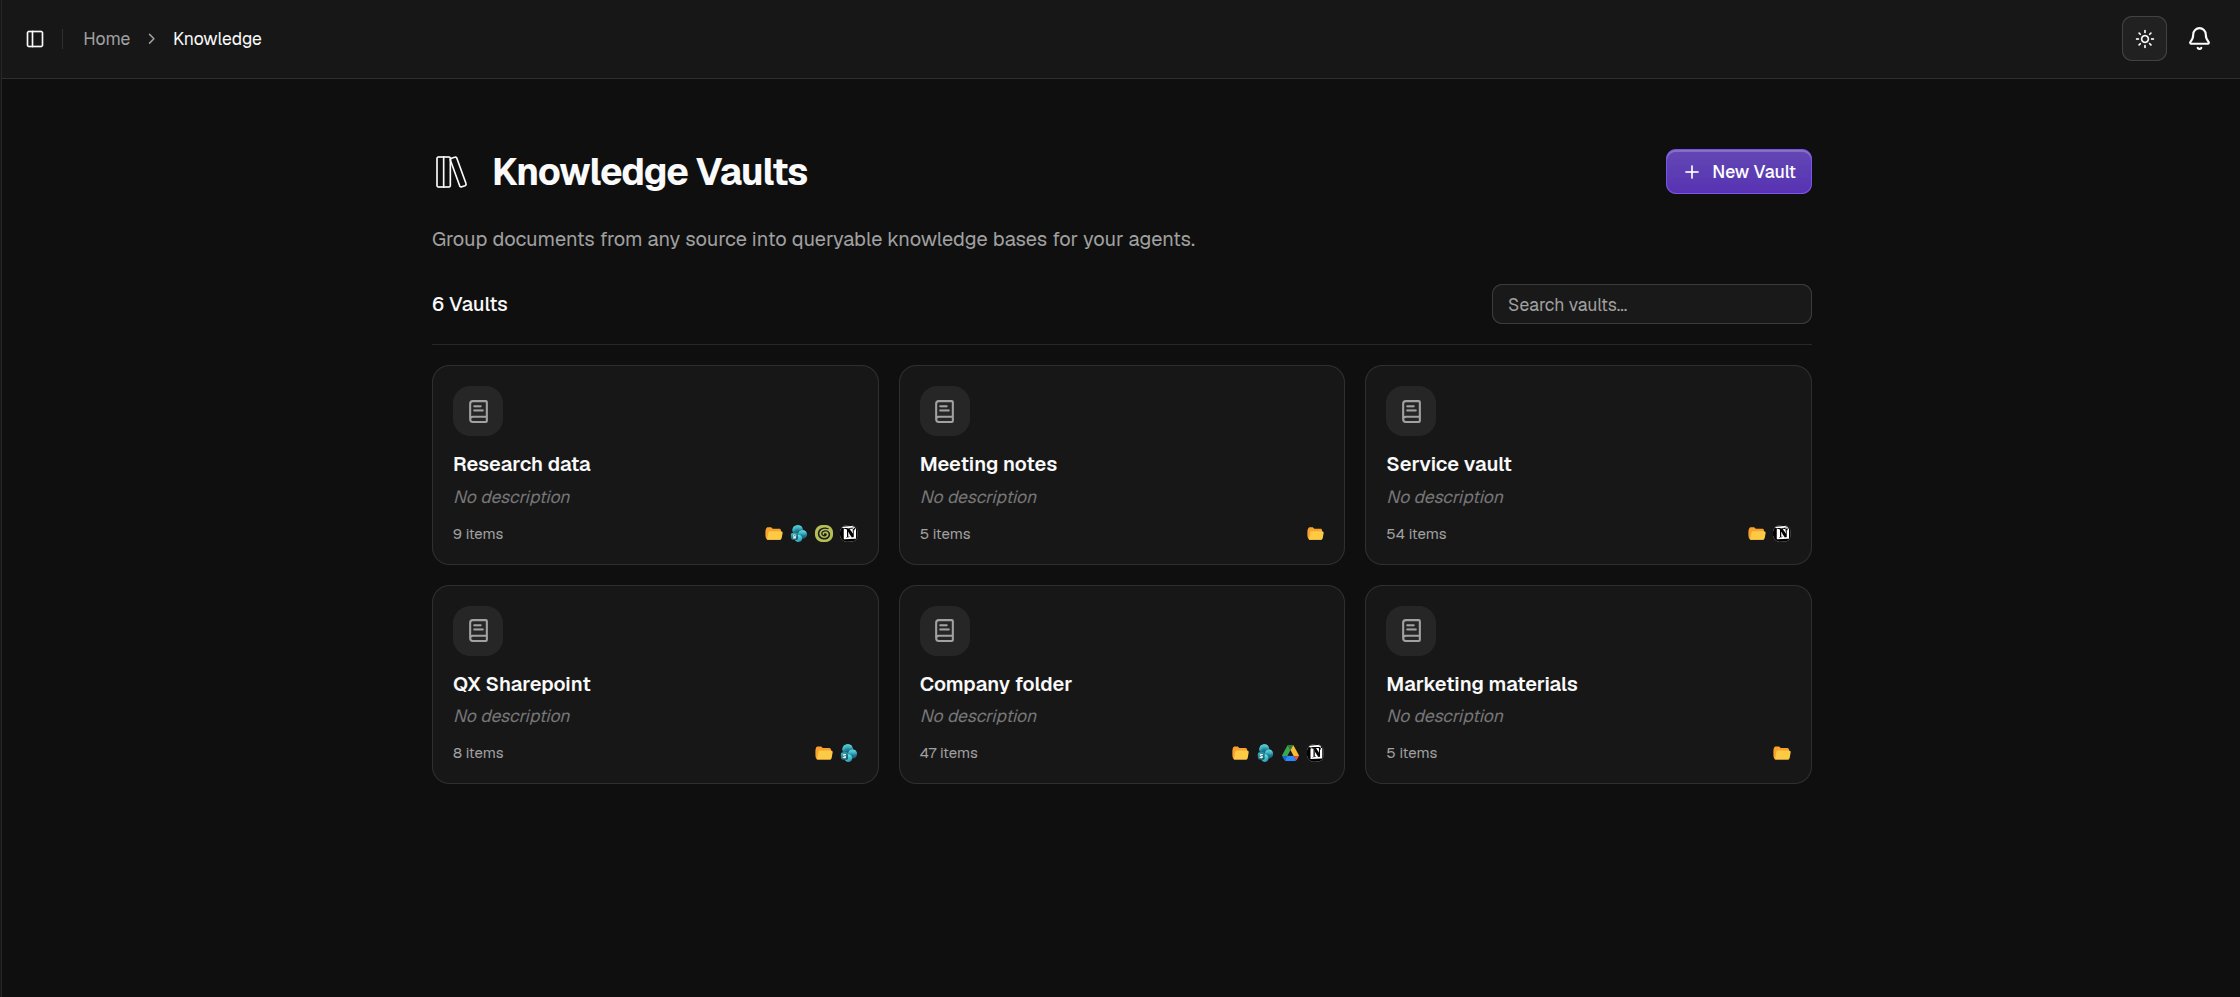
Click New Vault, give it a name and an optional description, and click Create vault. Keep each vault to one topic, like “Sales collateral” or “Product specs”, so agents search the right material.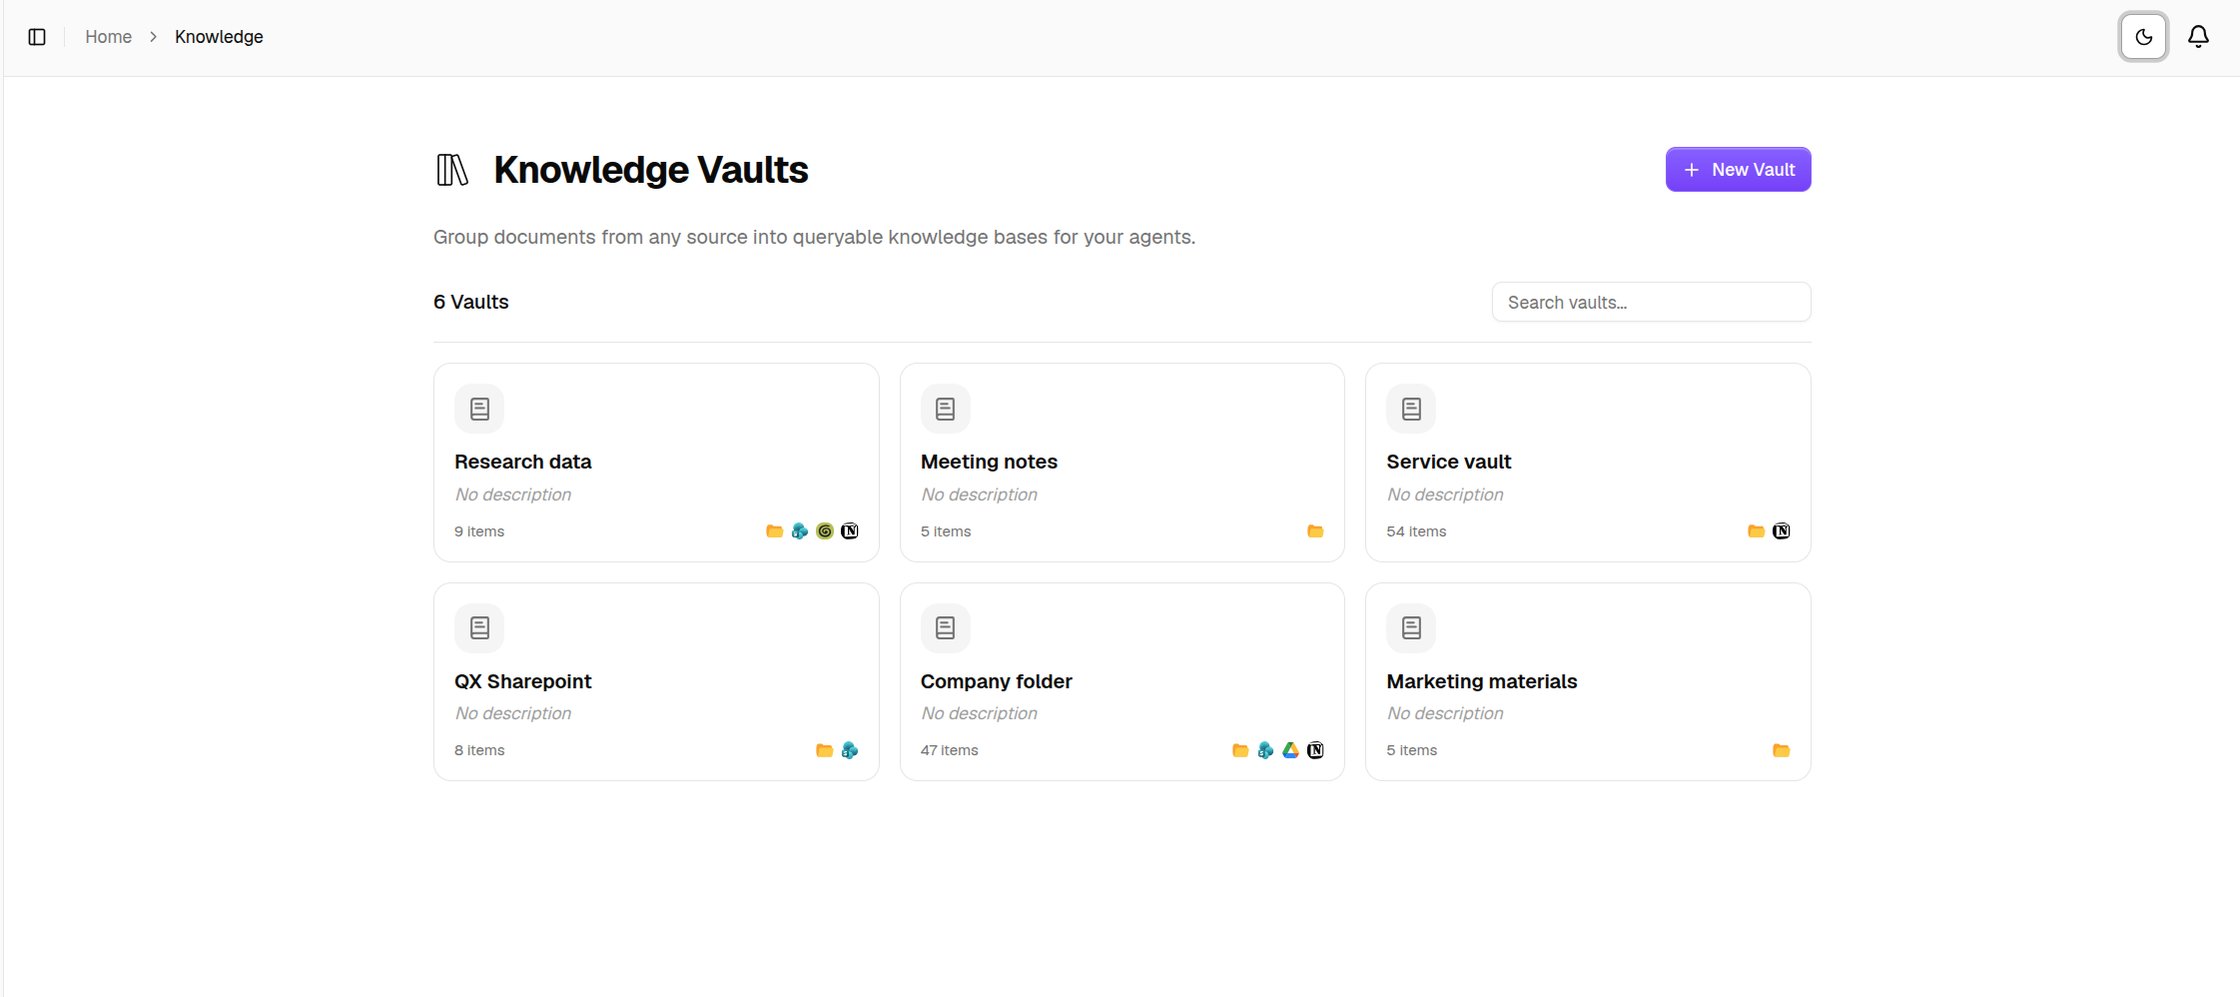
Add and organize files
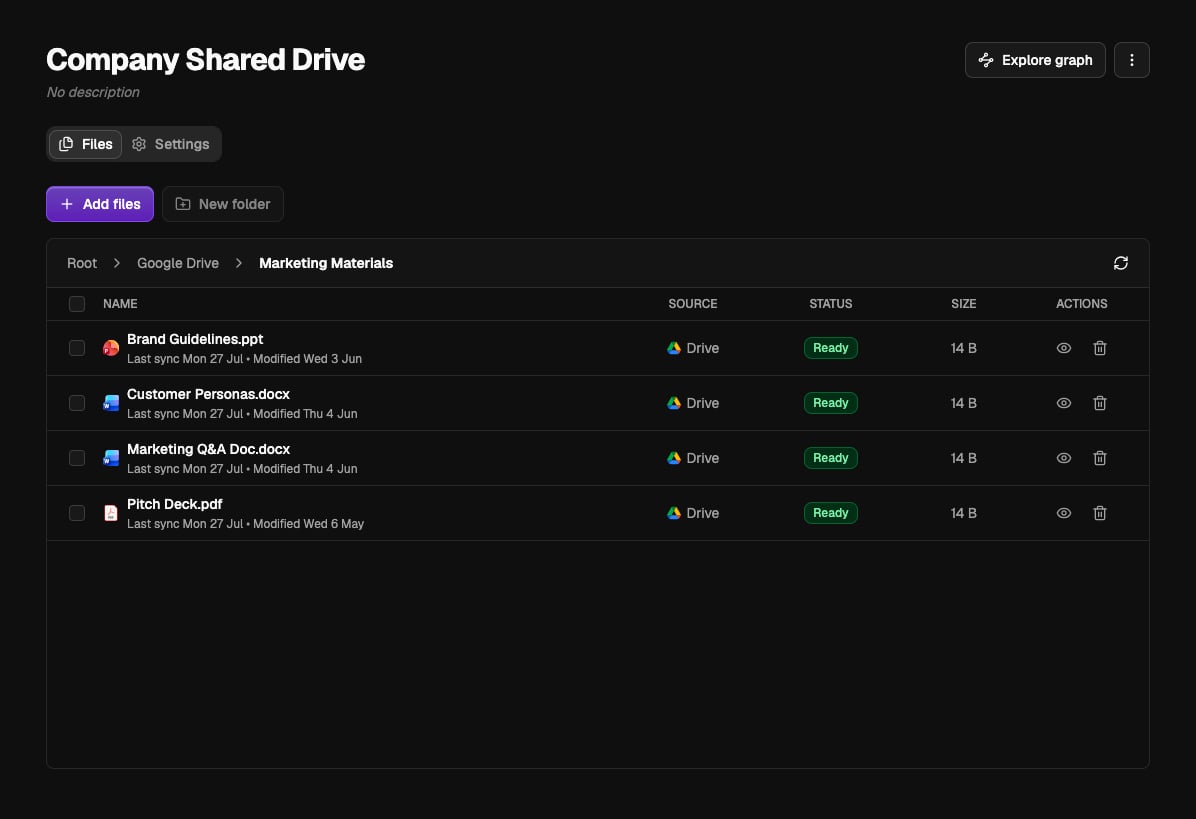
A vault’s Files tab holds everything in it. Click Add files to upload documents or import them from sources like Google Drive, SharePoint, and Notion, each covered in Adding files. You can create folders, move items between them, and delete what you no longer need. New files are processed in the background. Each file shows its status, and it becomes searchable once it reaches Ready.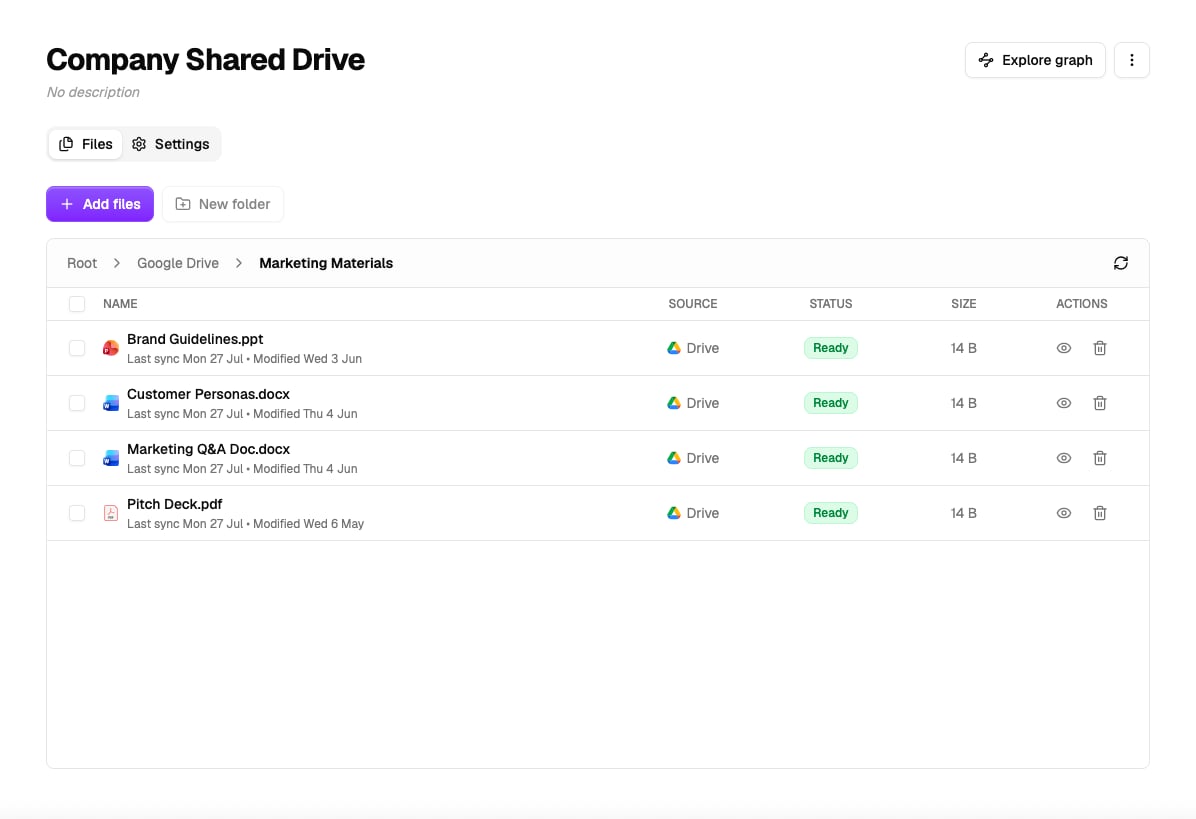
Vault settings
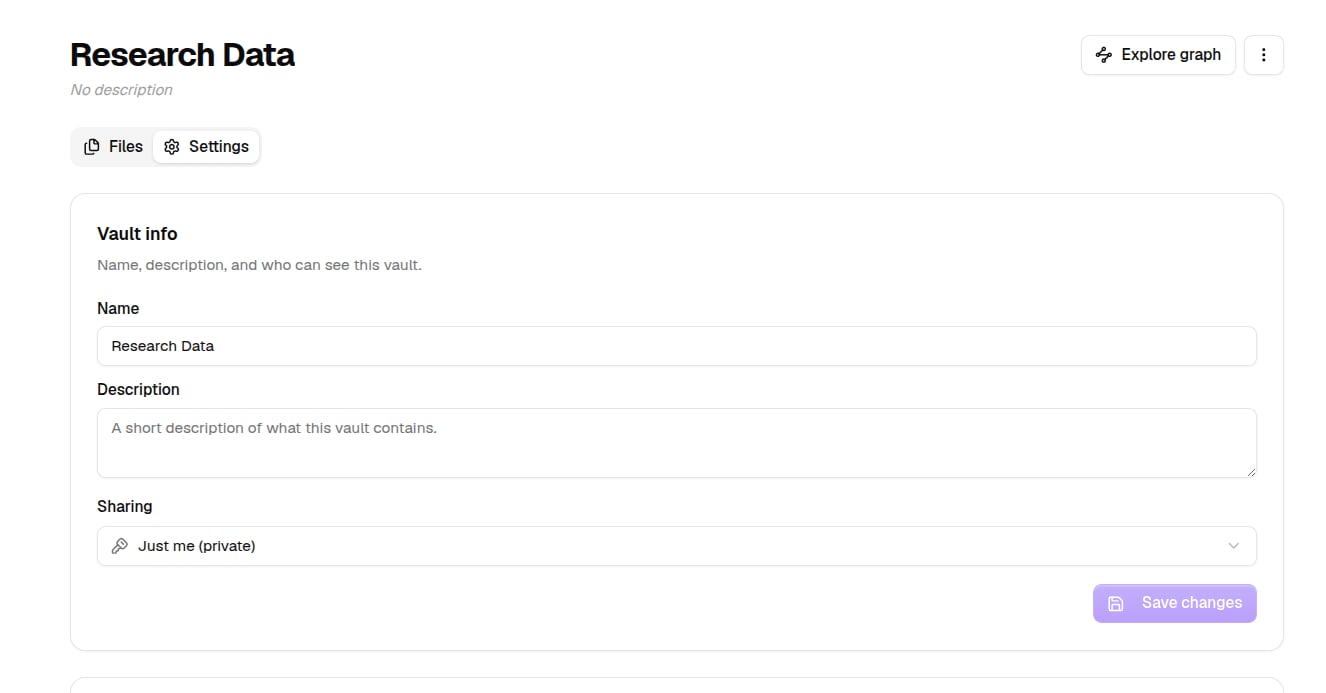
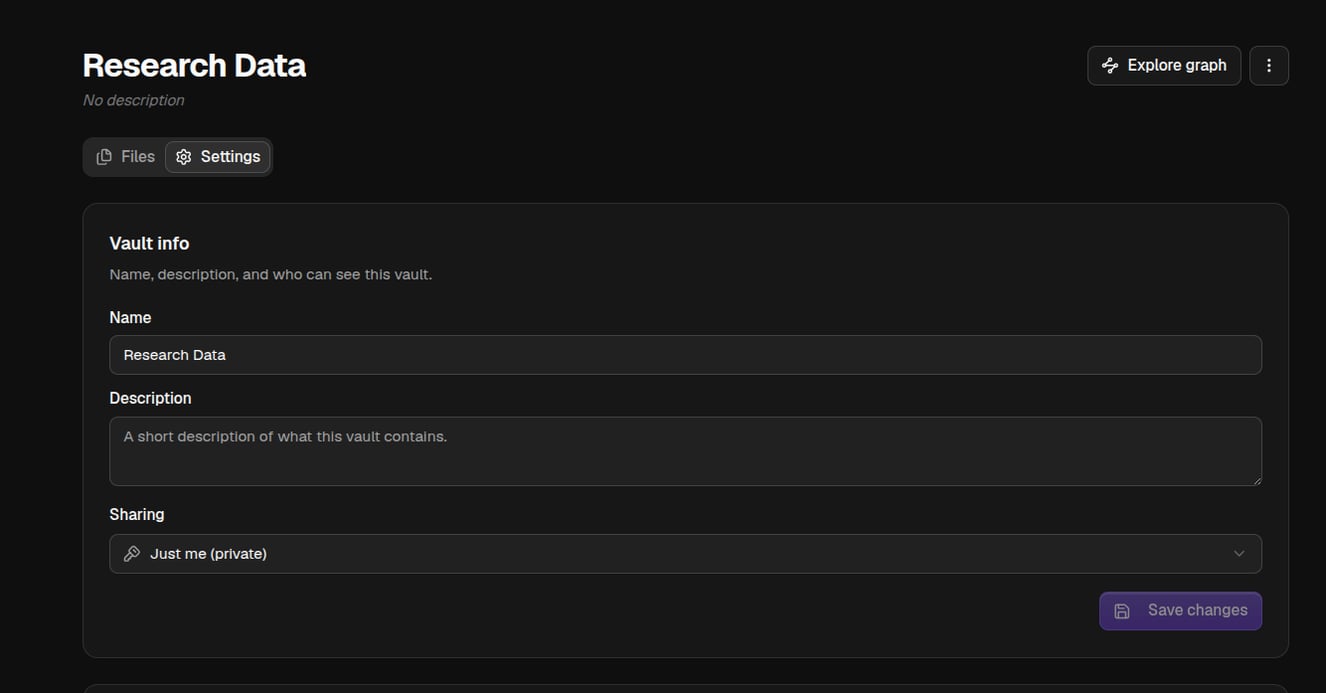
The Settings tab is where you manage the vault:- Vault info holds the name, description, and sharing. A new vault is private to you. Share it with My organisation or Specific people to let teammates use it. Everyone with access can add and manage files, but only the owner can change sharing or delete the vault.
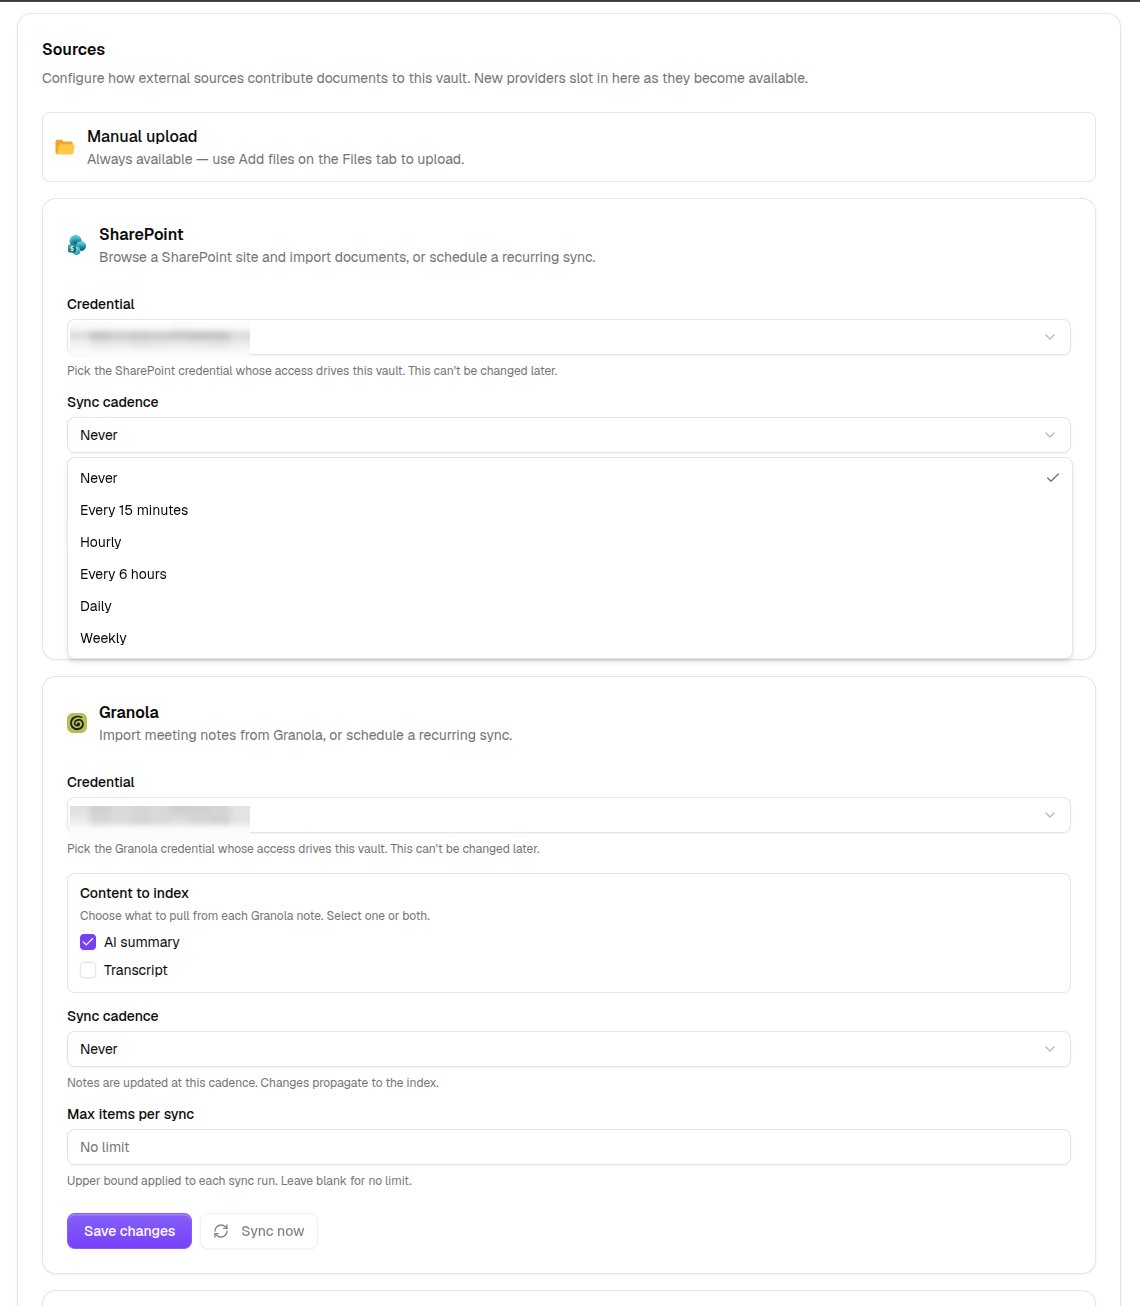
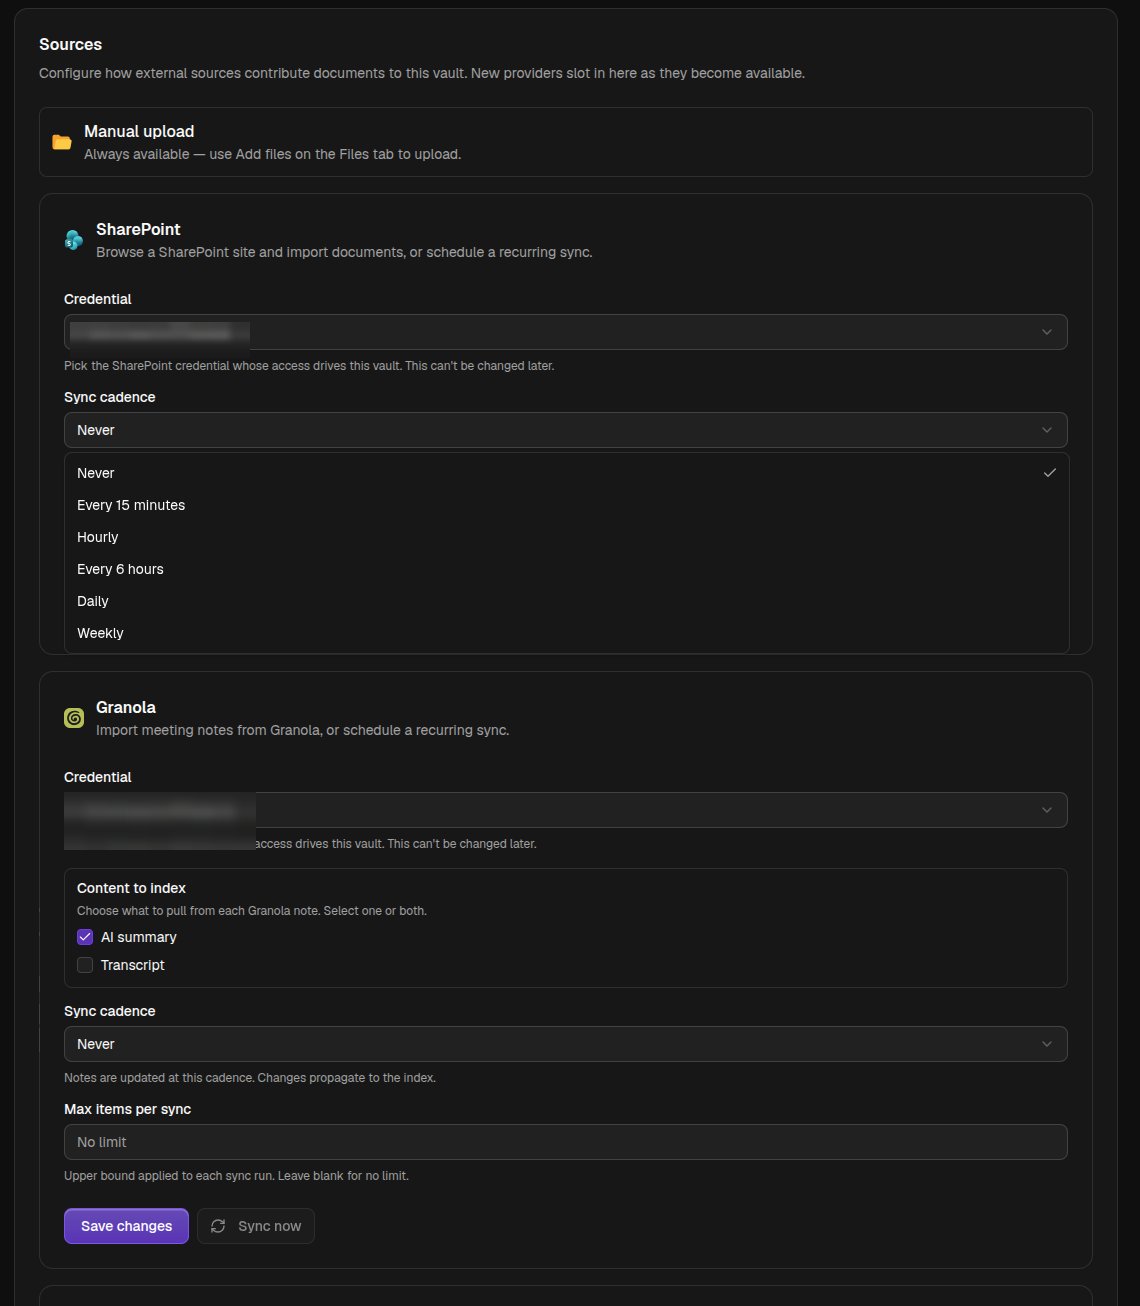
- Sources holds the settings for each source you’ve set up, including how often it re-syncs. See Adding files.
- Danger zone deletes the vault and everything in it, permanently.
Explore the graph
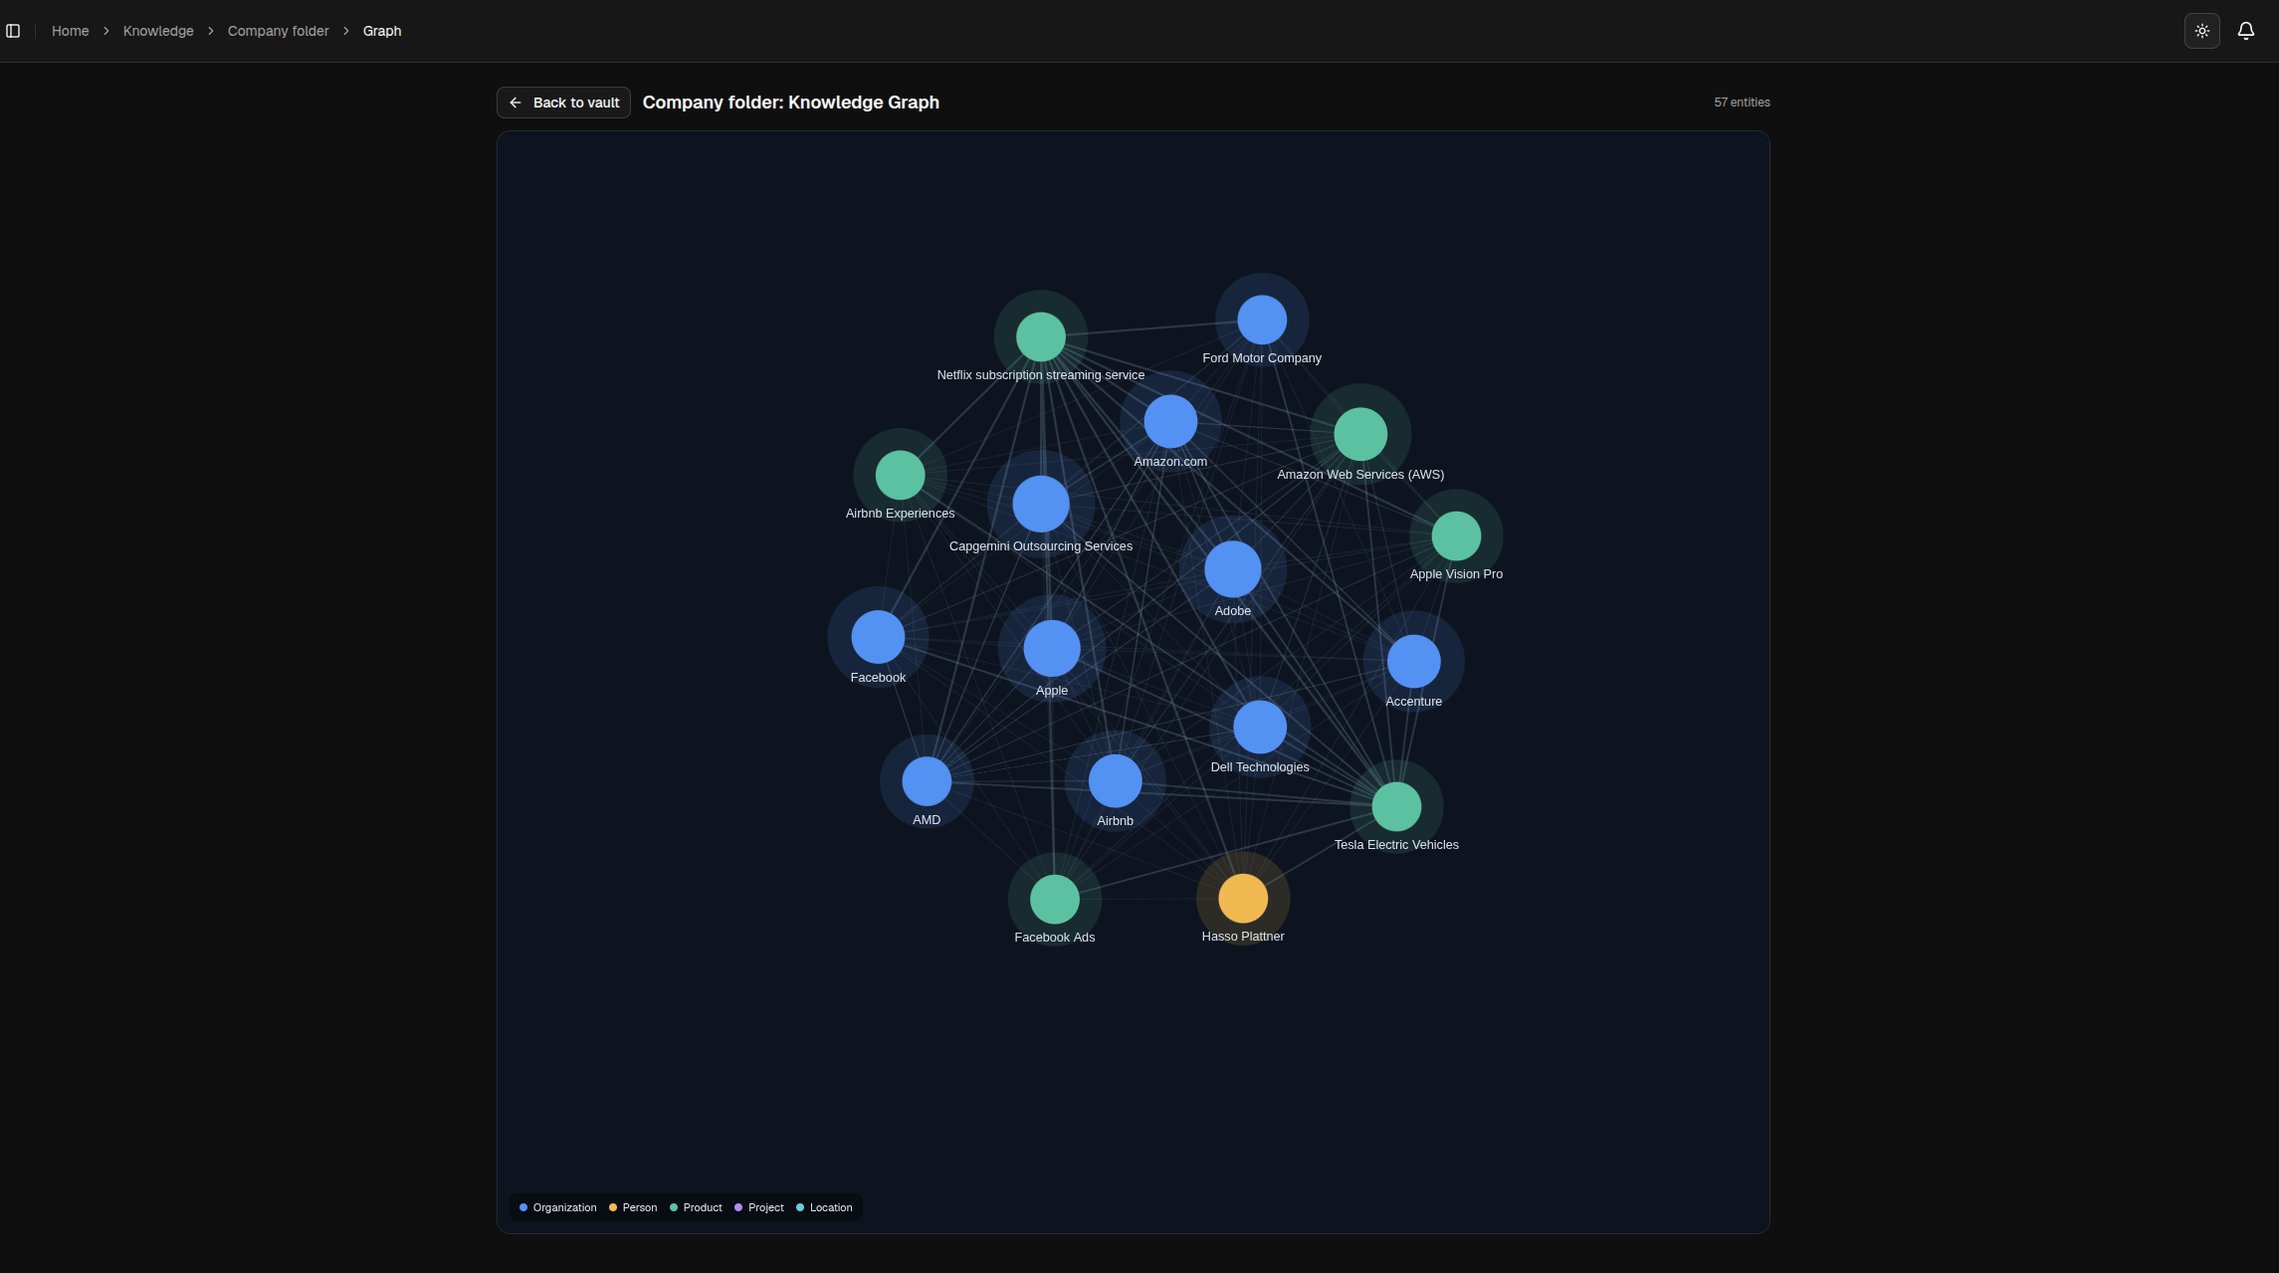
Click Explore graph at the top of a vault to see a visual map of the people, organizations, products, and other entities mentioned across its documents. It’s a quick way to check what the vault actually covers.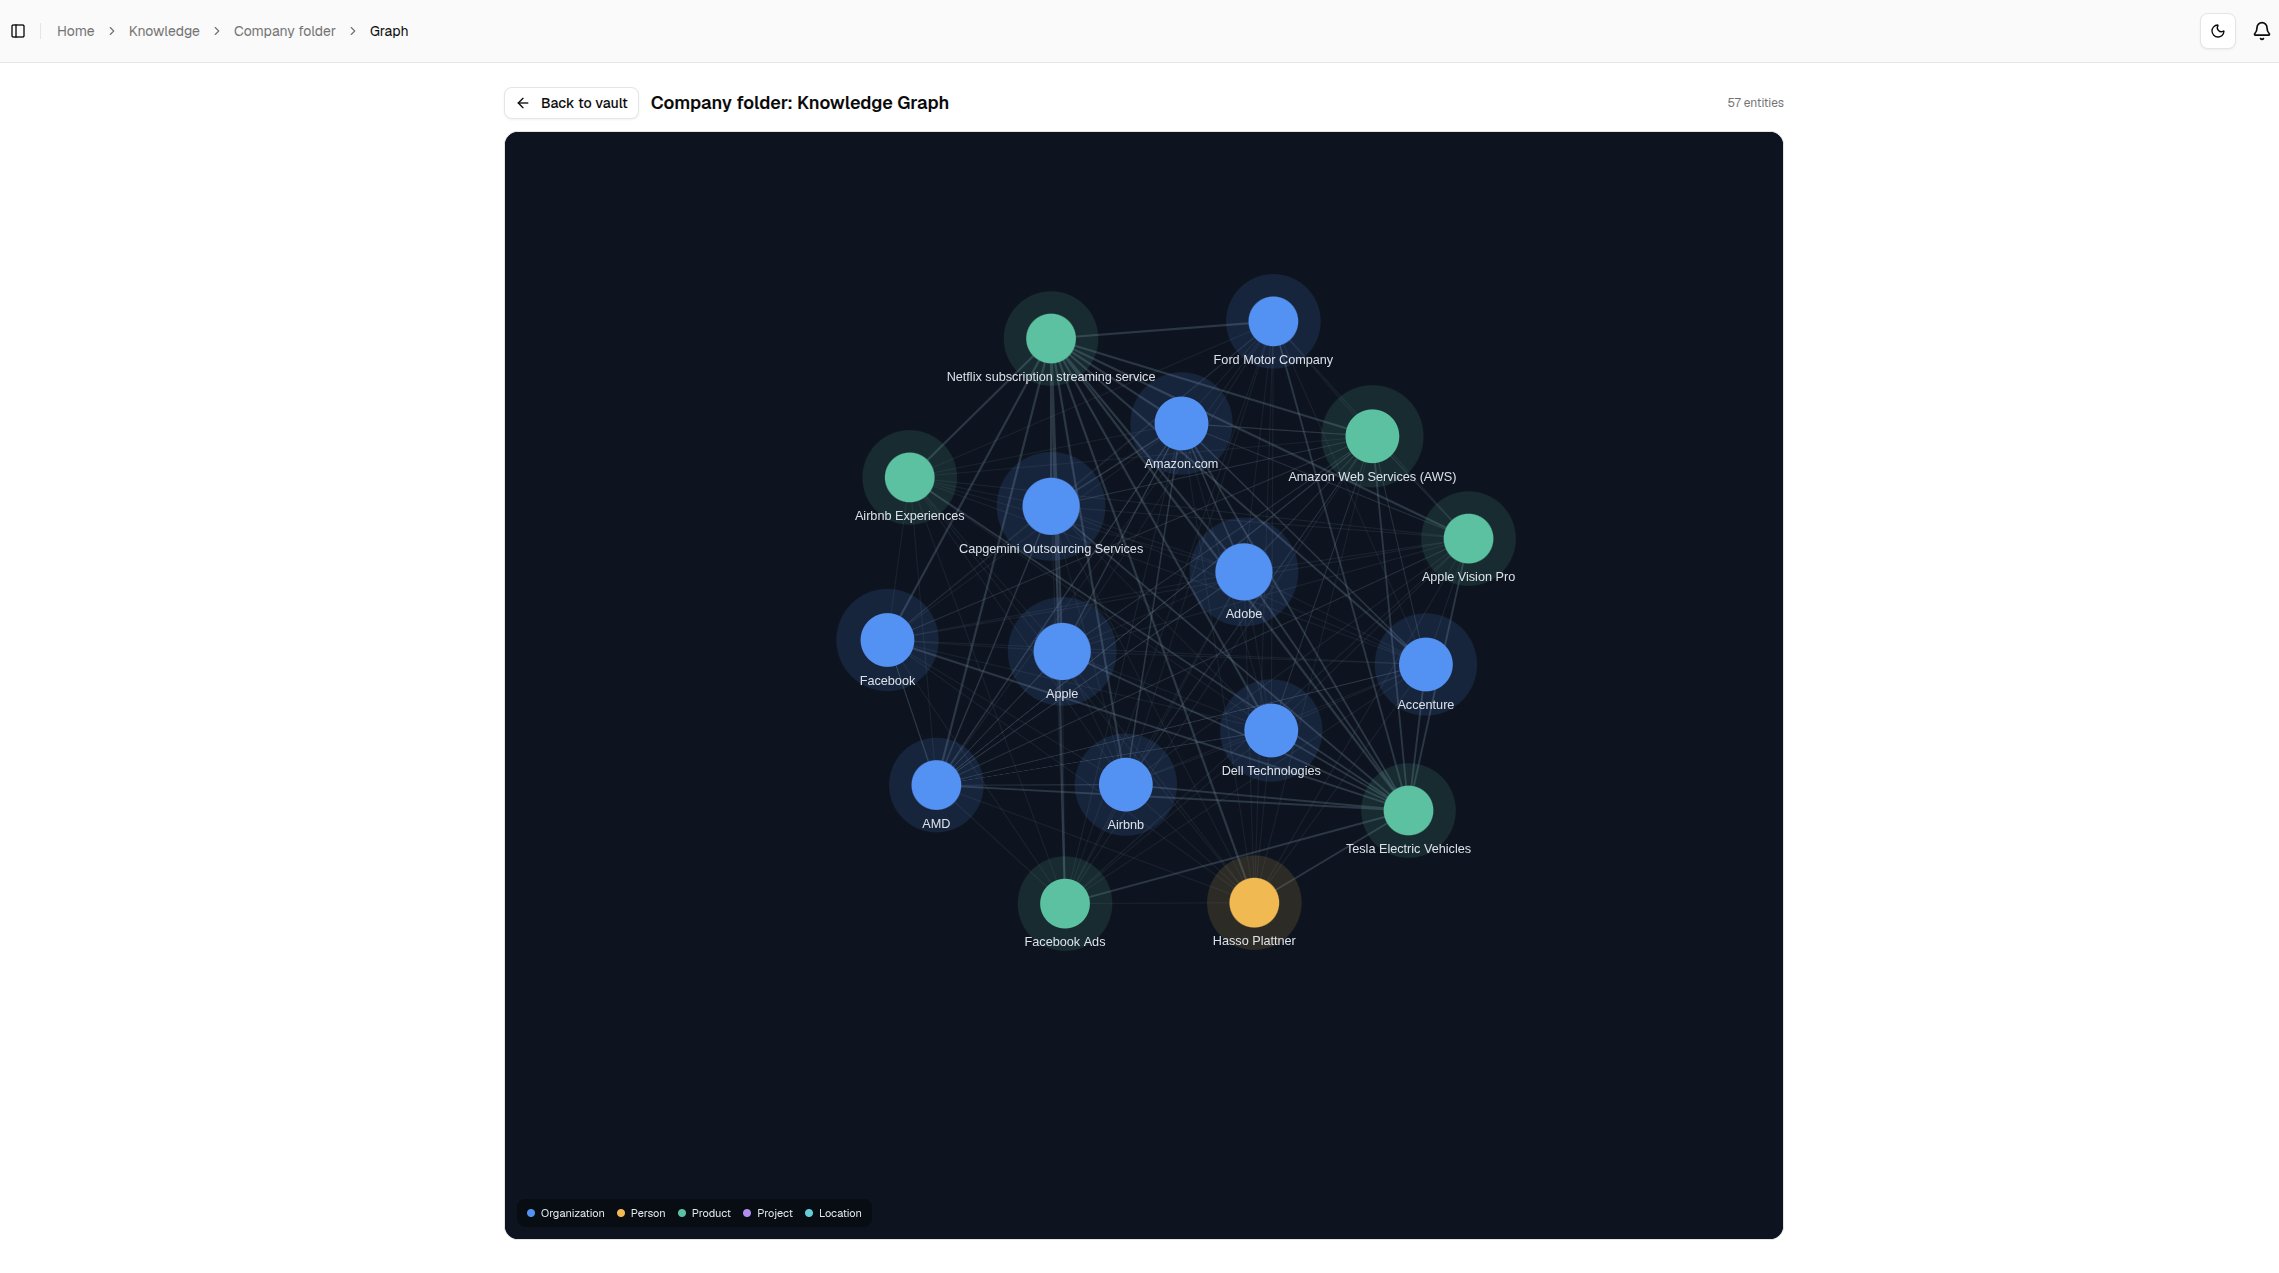
Use a vault with an agent
Attach vaults to an agent from the Knowledge section of the agent editor, where you can also limit the agent to specific folders or files. If you’re building the agent with the editor’s Chat sidebar, just name the vault and the builder attaches it for you. In a chat, use the Knowledge popover in the message box to toggle the agent’s vaults on or off for that conversation. See Connected apps and knowledge for attaching vaults, and Scopes and permissions for how folder, file, and per-conversation scoping works.Use a vault with third-party AI apps
Your vaults aren’t limited to QX agents. Claude, Cursor, Microsoft Copilot, and other AI apps can search them too over MCP, with citations back to your files. See Connect via MCP for the setup steps per app.Processing documents into a vault consumes credits.