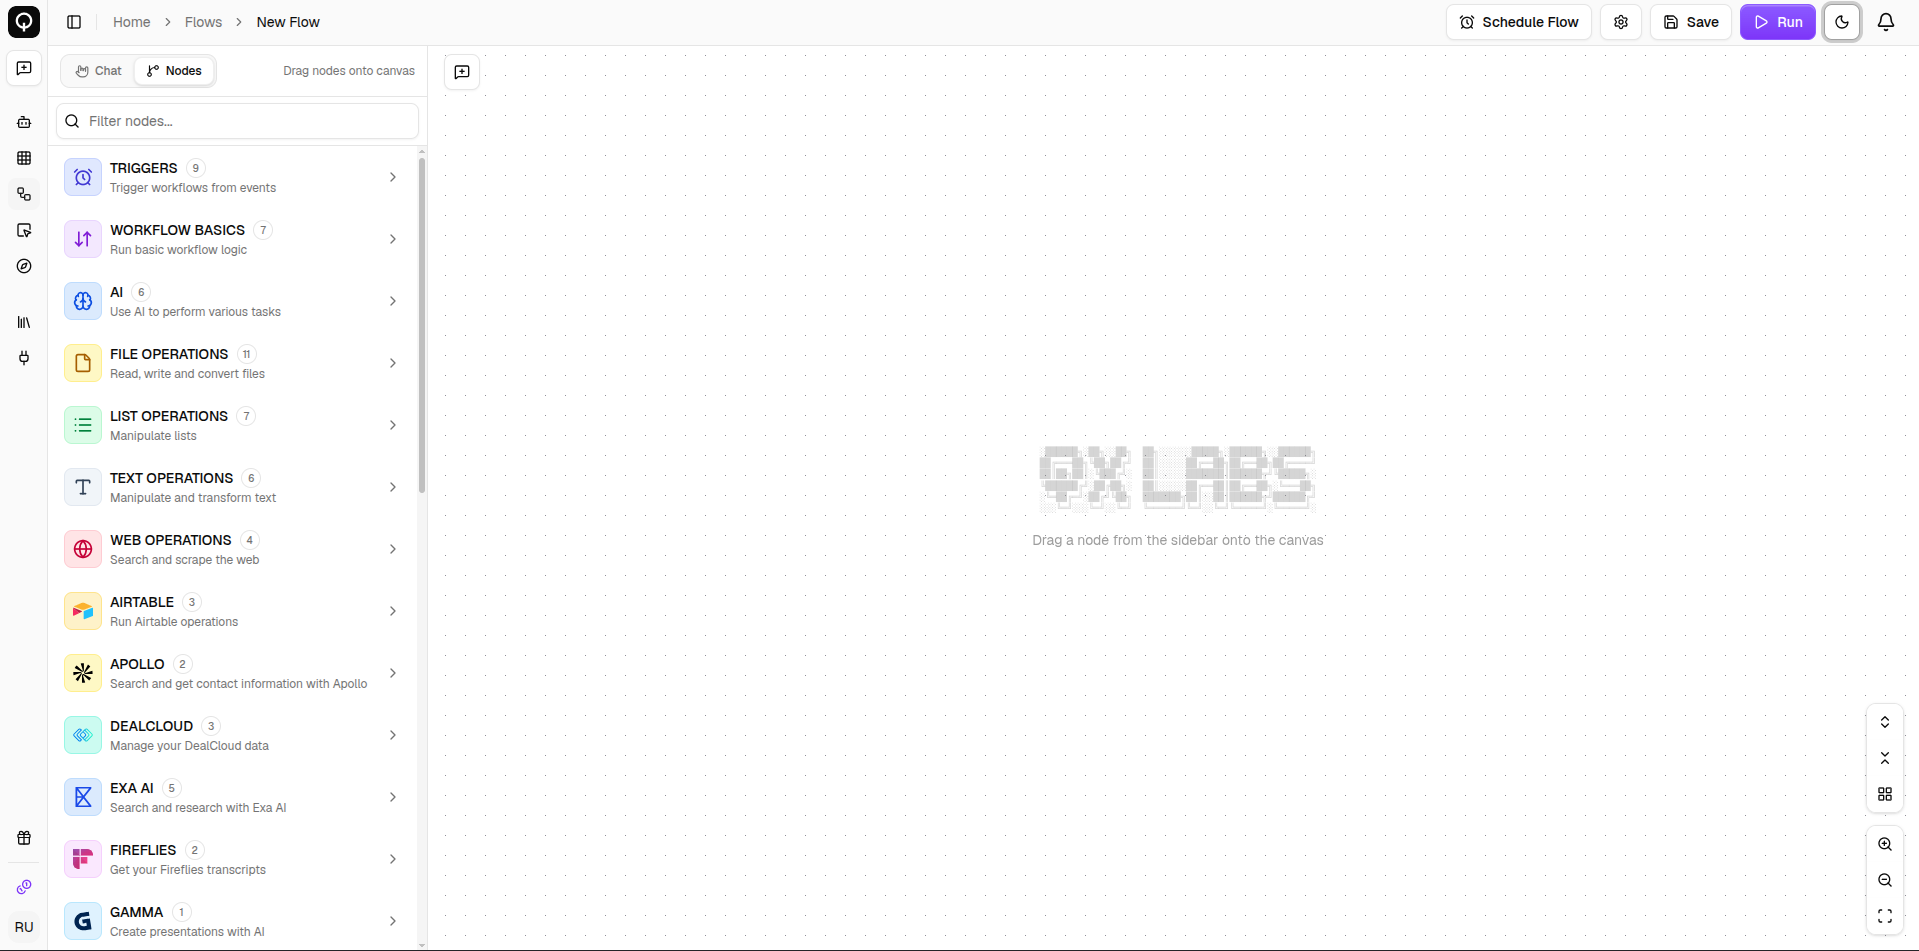
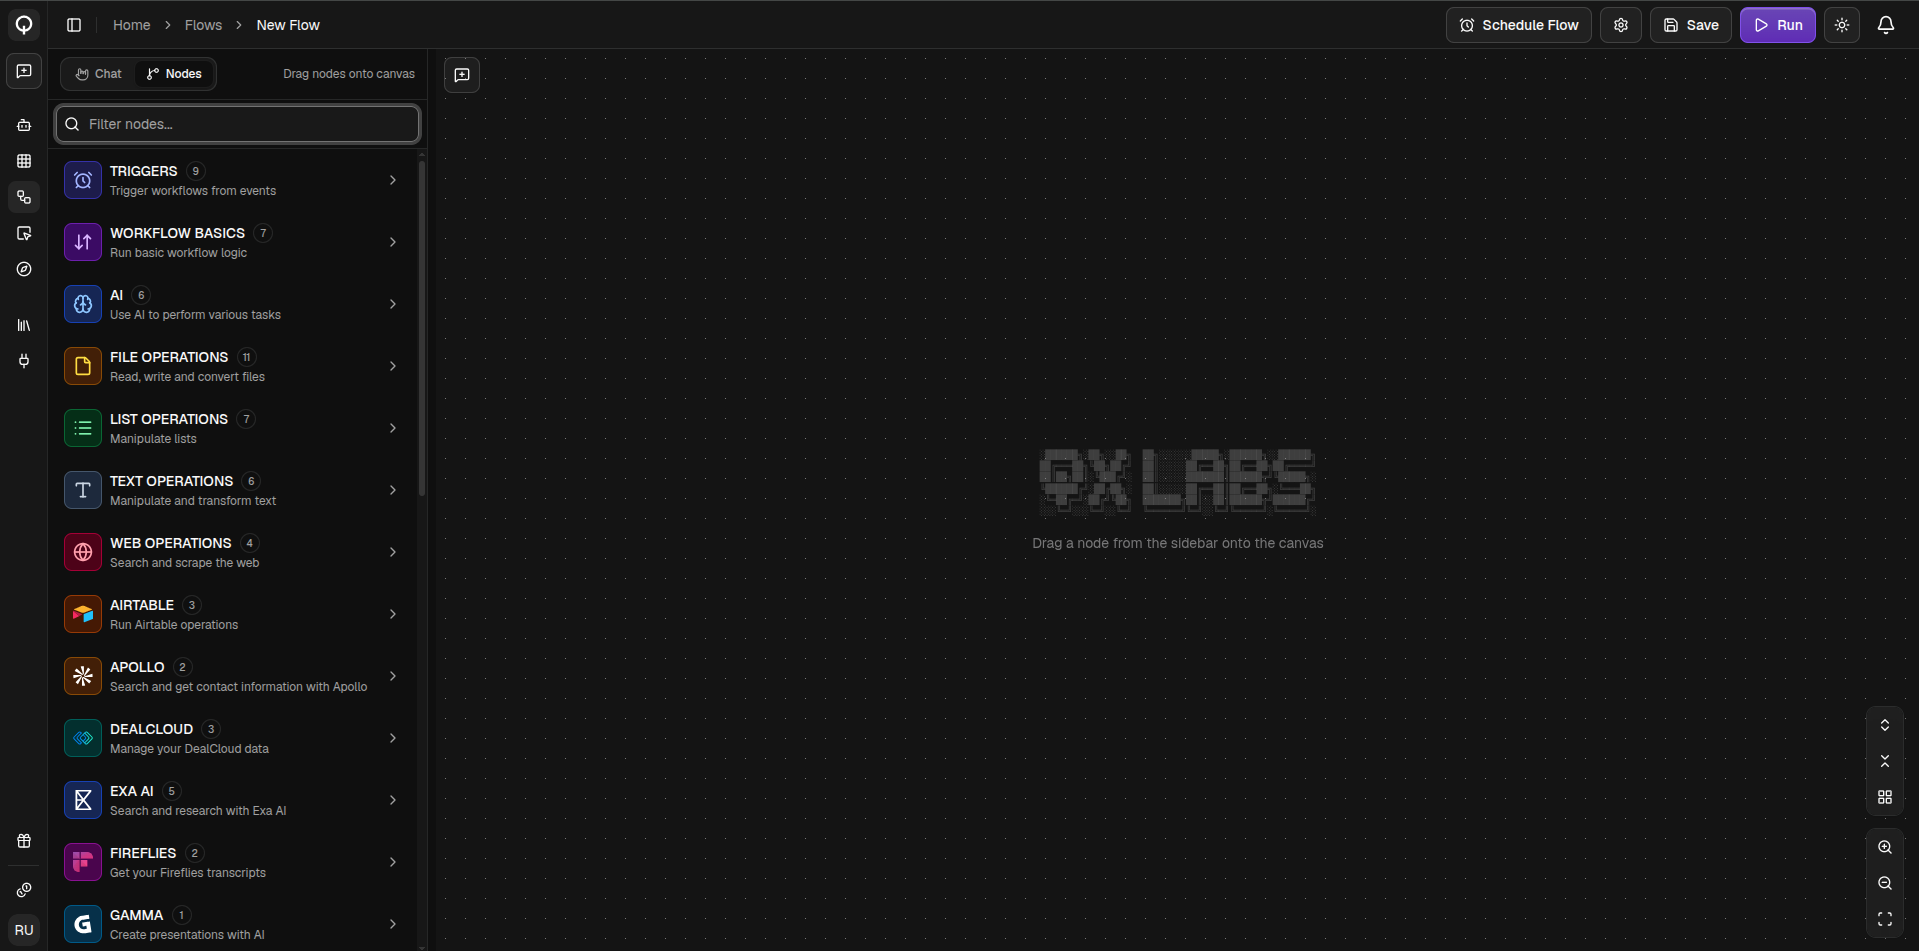
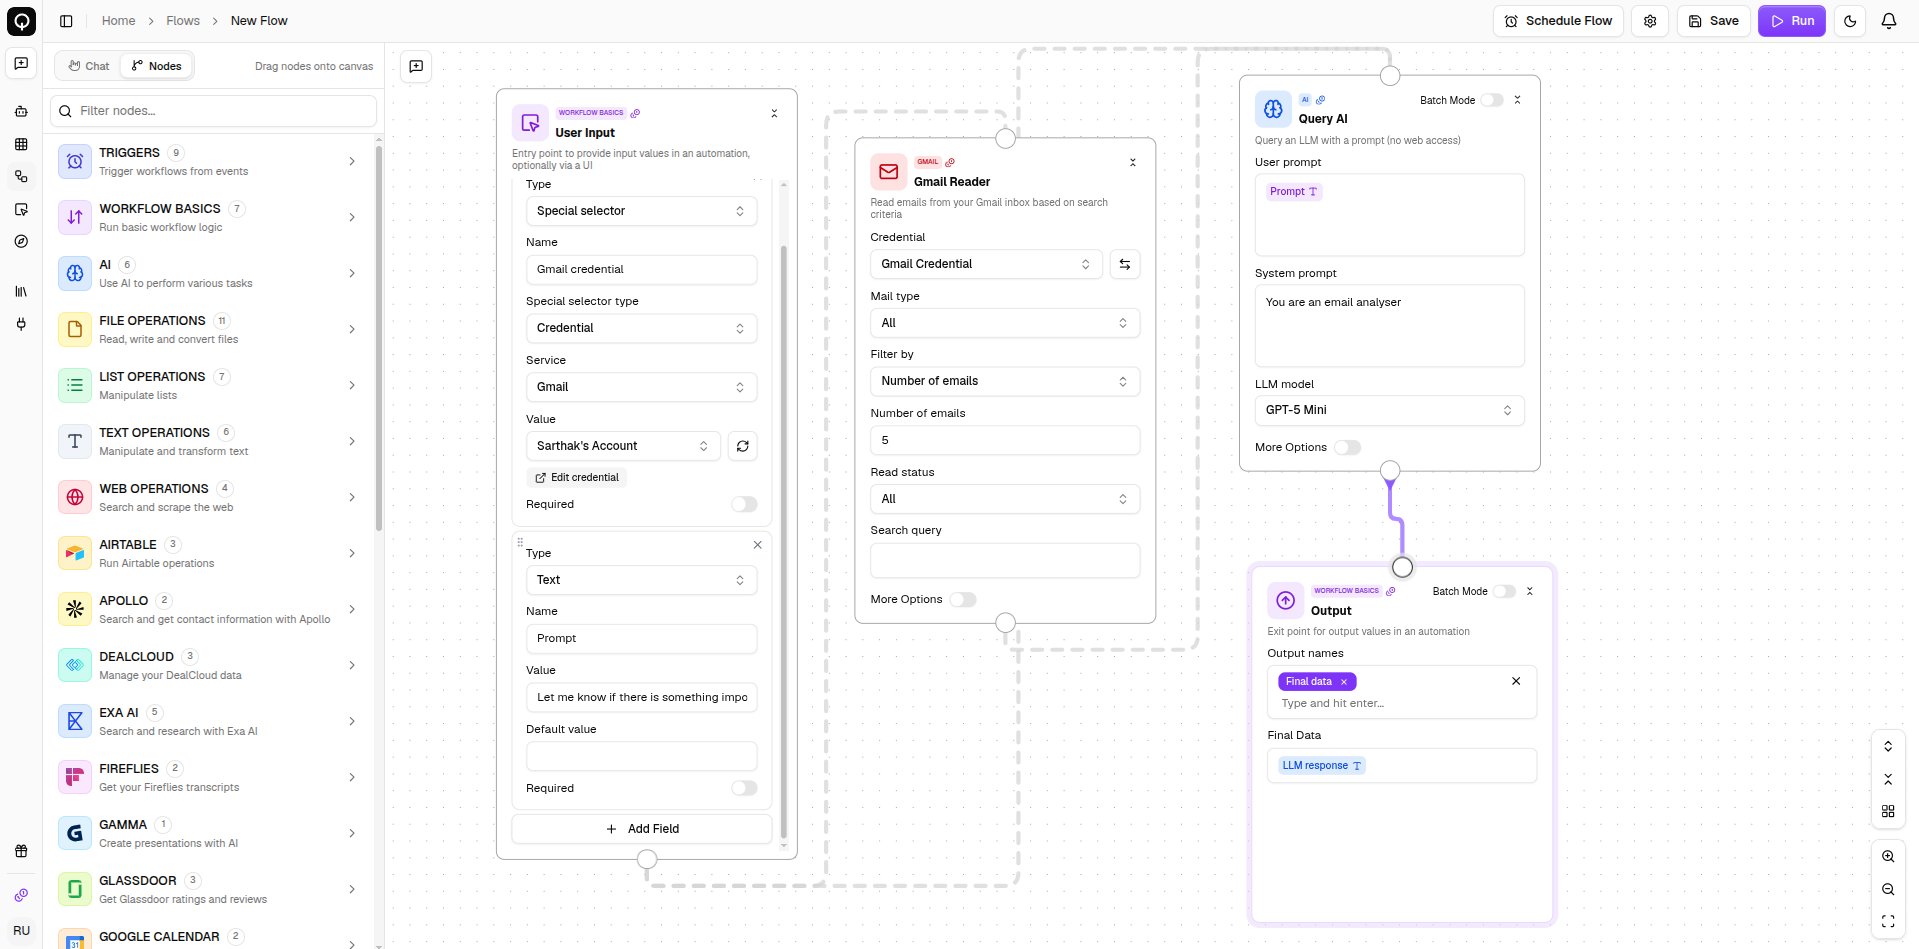
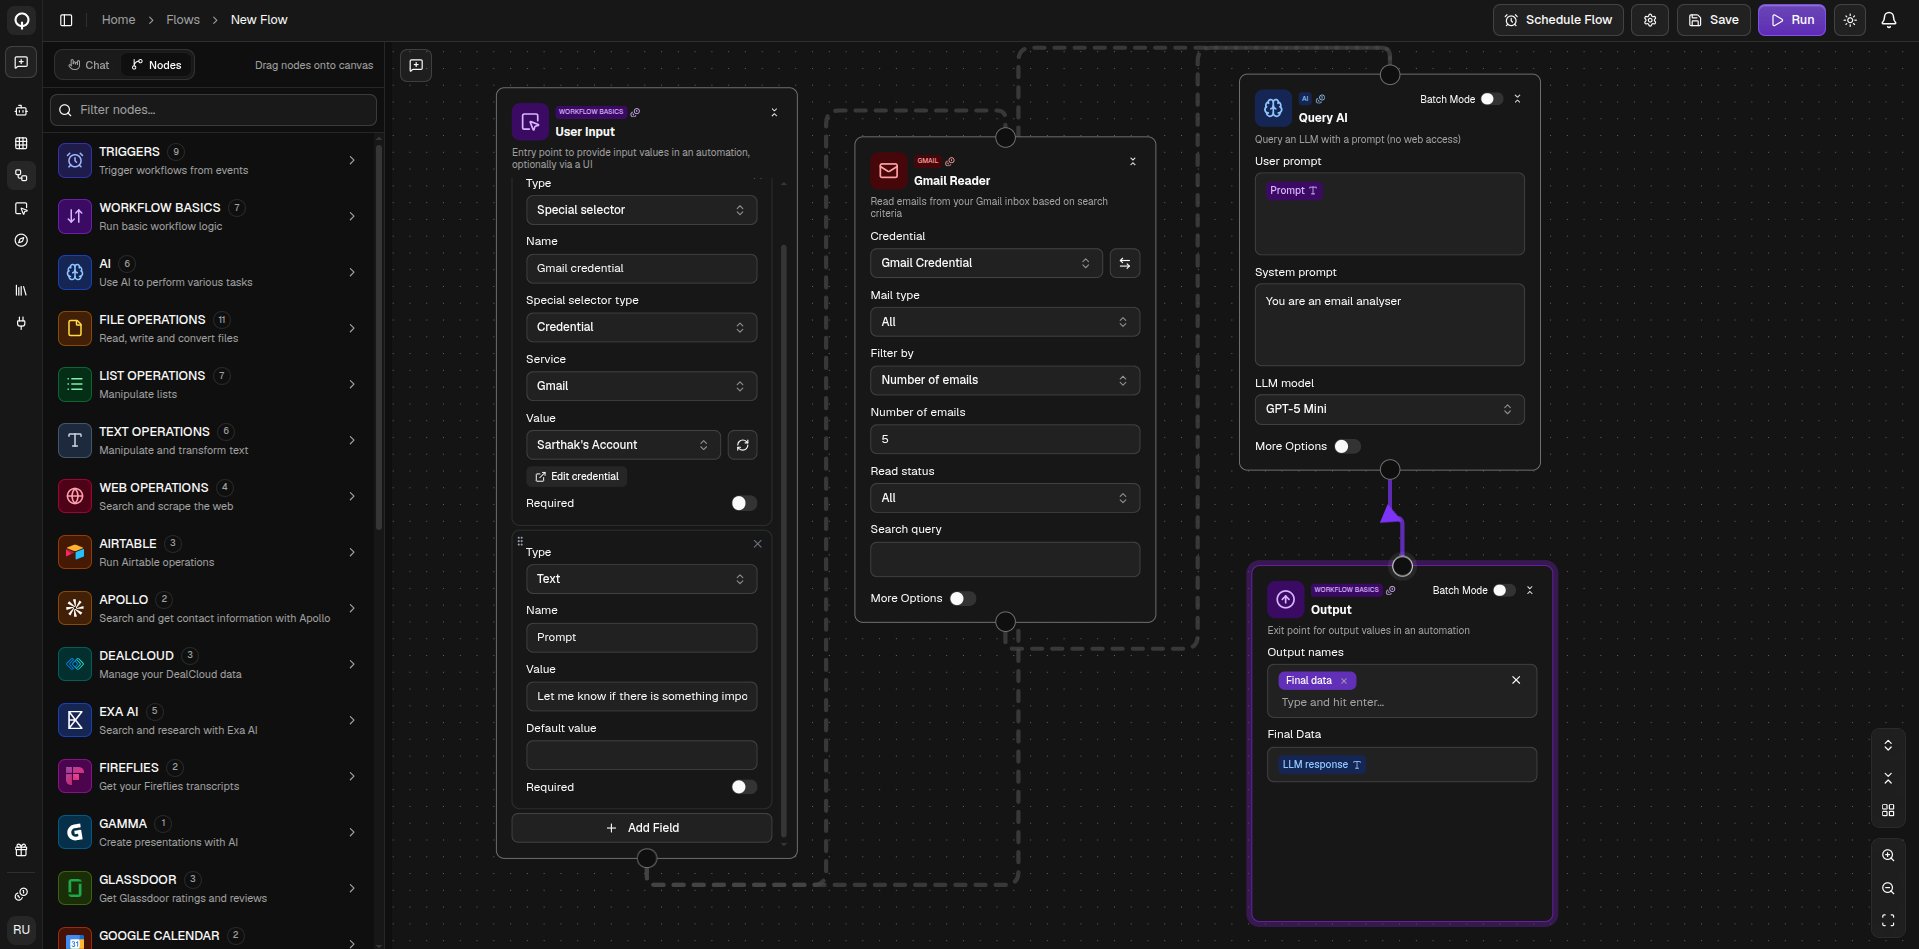
Build a flow on the canvas yourself: drag in nodes, wire them together, fill in their settings, and test them one at a time.
The Nodes tab gives you the full canvas: drag in the nodes you want, wire them together, fill in their settings, and test them one at a time. You can hop to the Chat tab at any point and let the builder take over, it picks up whatever you changed.
The sidebar lists every node by category. Click a category to see its nodes, or type in the search box to filter across all of them. Drag a node from the sidebar onto the canvas to add it, clicking a node in the list does not add it.
Node catalog
Browse the full catalog of nodes and what each one does.
Drag nodes around to arrange them, or click Auto-Organize in the bottom-right controls (⌘/) to tidy the whole canvas at once. Those same controls zoom in and out and fit the flow to the screen. To work with several nodes together, shift-drag a box around them or ⌘-click each one, then copy and paste them with ⌘C and ⌘V. Select anything and press Delete to remove it.
Drag from a node’s bottom handle to another node’s top handle to connect them. One output can feed as many downstream nodes as you like. To remove a connection, click it and press Delete.Node settings live right on the canvas. Fill in the fields you see, and switch on More Options for the less common settings. To use a value from an earlier node, hover the node and drag a value from its Inputs panel into a field, where it drops in as a colored chip that you can mix with your own text. Some fields offer a dropdown of upstream values instead.
Click a node’s name to rename it, or hover a node and click a badge in its Outputs panel to rename an output.
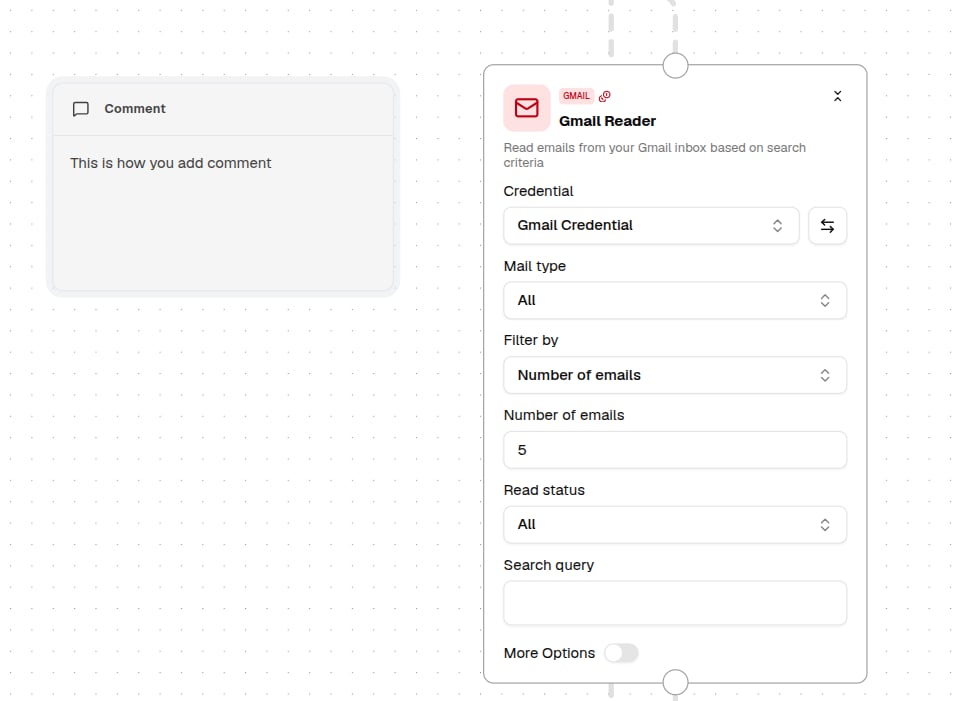
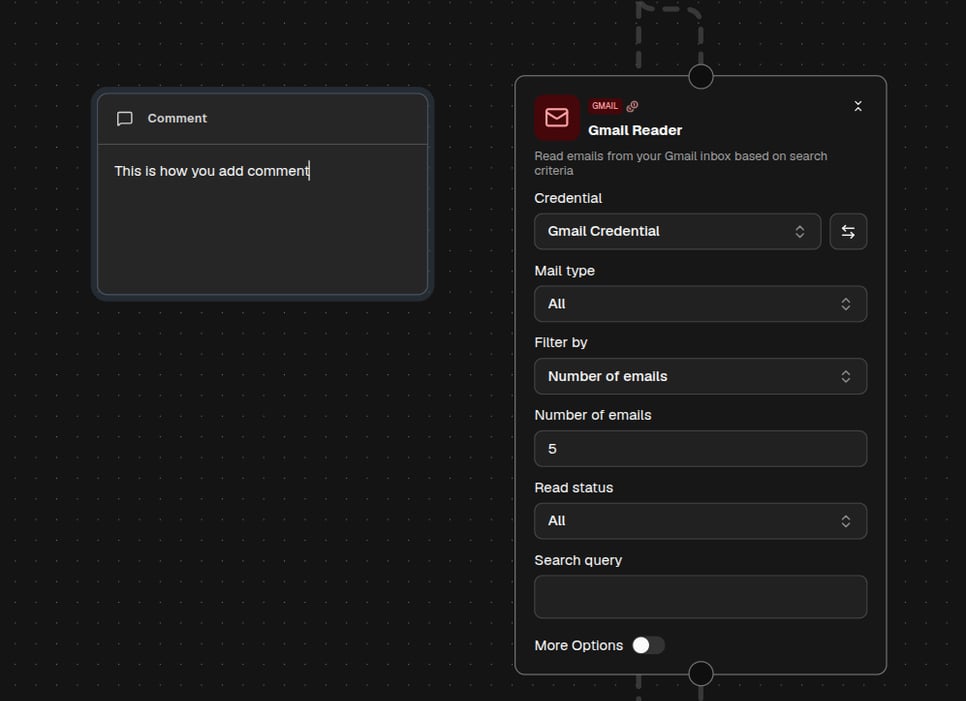
To give your flow a simple form instead of the canvas, add a User Input node and turn on Access via user interface. This creates a web page where anyone can fill in the fields and run the flow, no builder needed. A View User Interface button then appears in the top-left of the canvas. See Flow user interface.To leave a note for yourself or a teammate, click Add Comment in the top-left of the canvas, then click where you want it. Comments are annotations only and do not connect to anything.
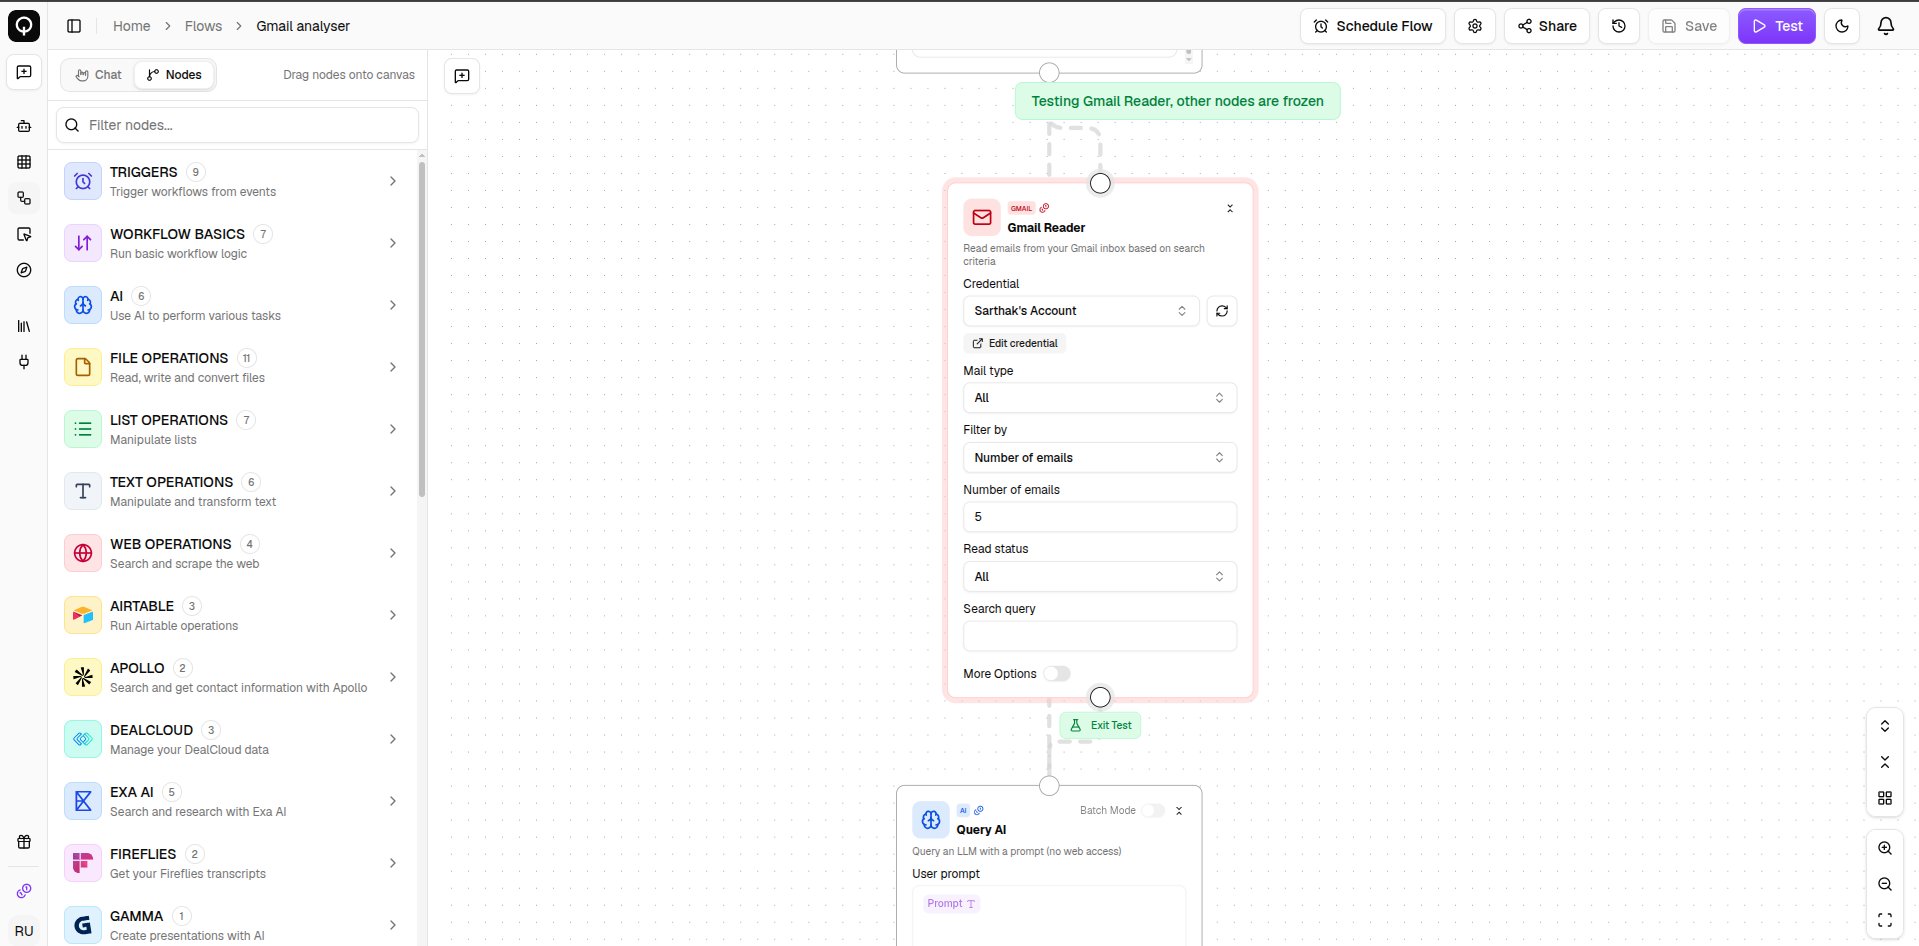
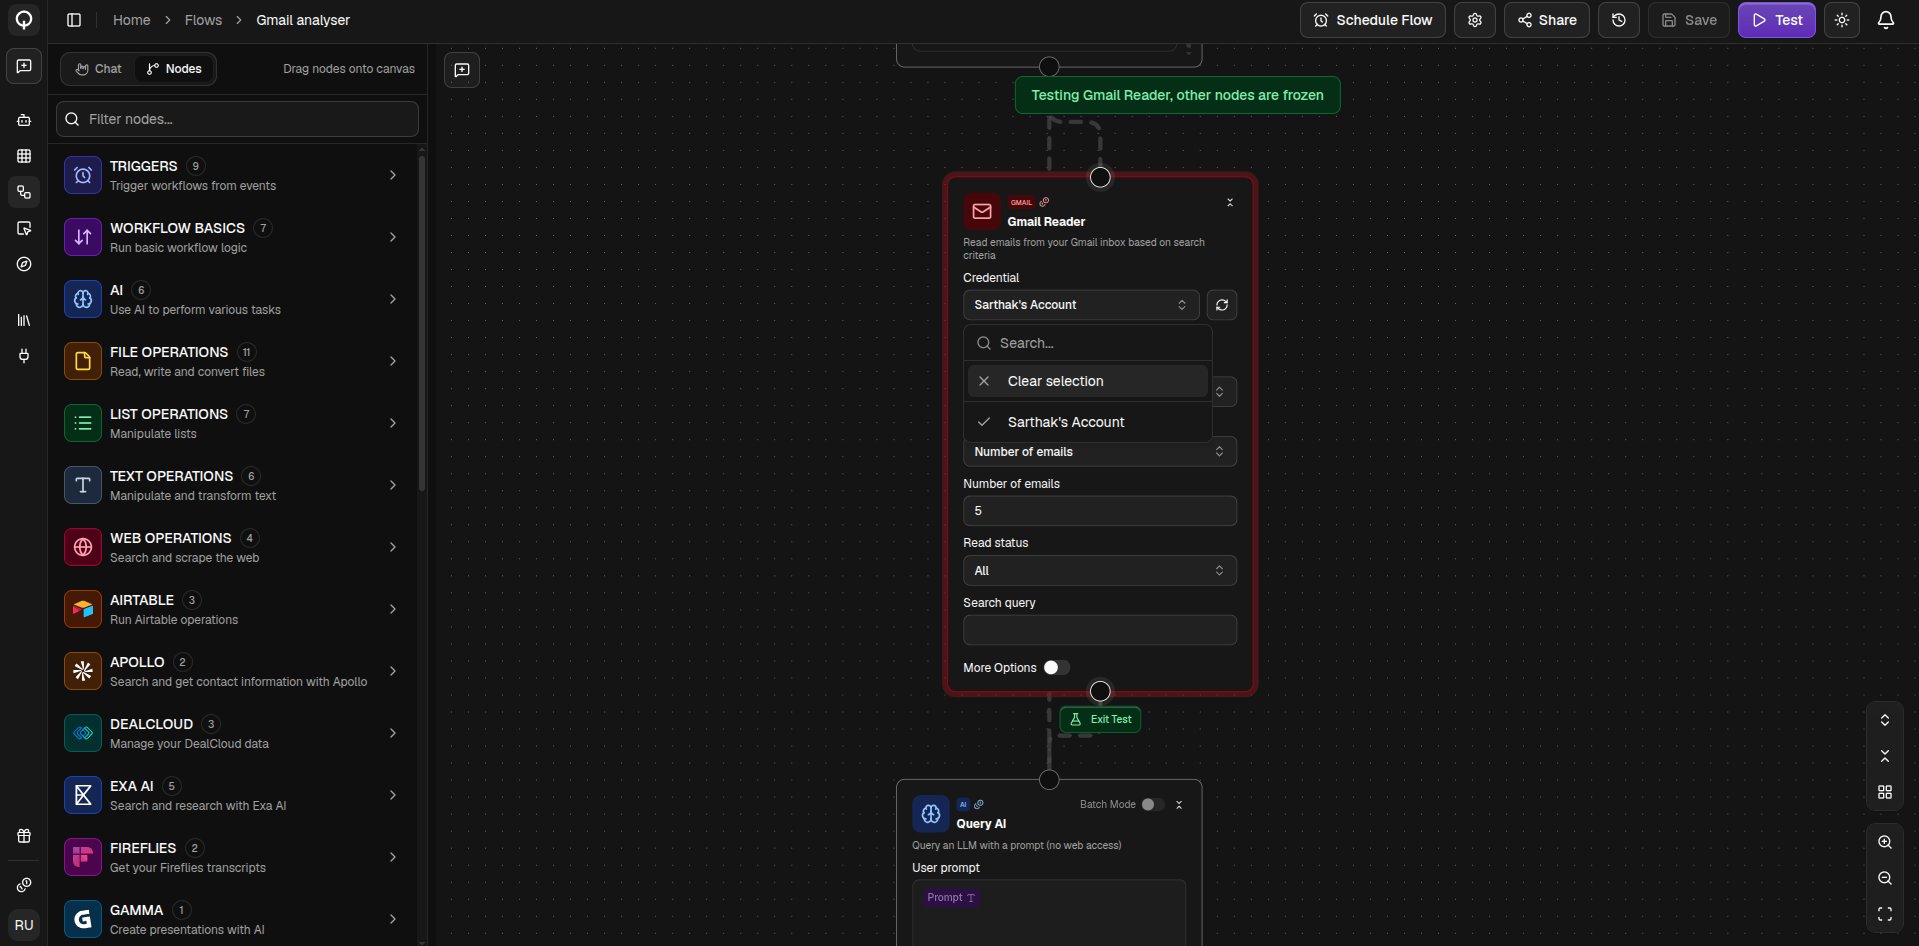
You do not have to run the whole flow to check one piece of it. Hover a node and click Test Node to try that node on its own. The rest of the canvas freezes, and the node’s fields turn into simple boxes where you type sample values. Click Test to run it. Nothing you type during a test is saved, and exiting test mode restores your flow exactly as it was.
When you want to run everything, click Run (⌘Enter). After a run, hovering a node also offers Re-Run From Here, which reuses the previous run’s results and picks up from that node onward, handy when you are iterating on the last step of a long flow. For progress, outputs, and past runs, see Running and testing and Run history.If something is wrong, the node turns red with the problem shown above it. Missing credentials stop a run before it starts and name the nodes to fix.
Click Save (⌘S) to save, which creates a new version each time. Settings (⌘,) holds the flow’s name, description, and status, and Share controls who else can see it.Open Version History to browse earlier saves and click one to view it, then use View Latest Version to come back. To go back to an older version, open it and save it, which makes it the current version.